Give Your Photos a Distressed/Grunge Effect – Photoshop Tutorial
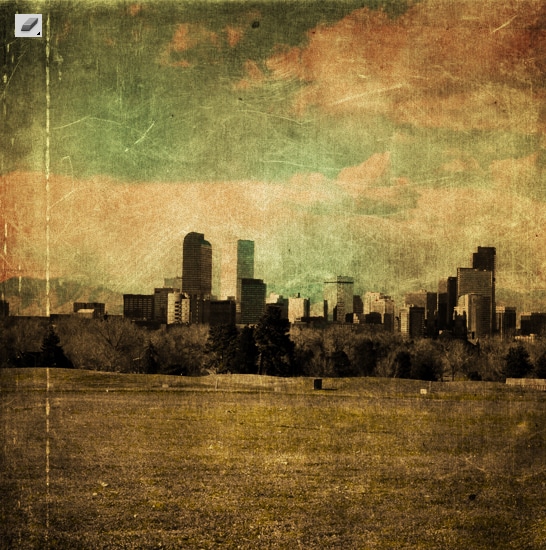
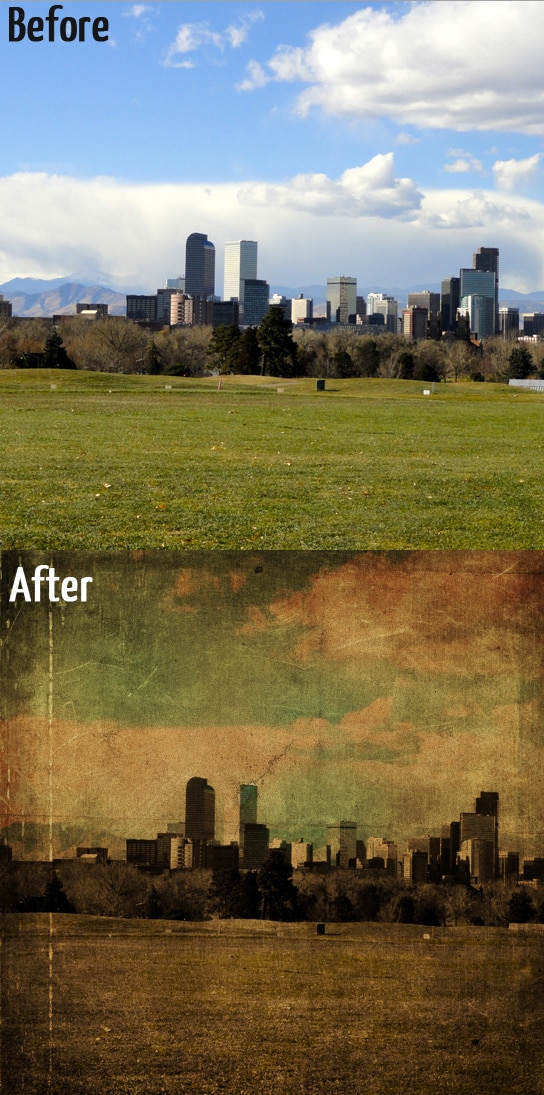
Learn how to give your Photos a Distressed/Vintage/Grunge look in Photoshop using textures & brushes.
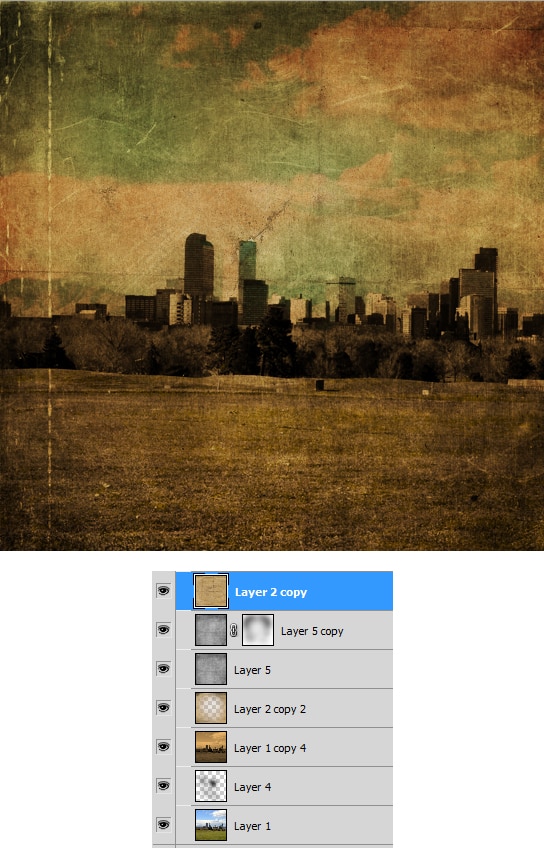
Final Result
Resources:
– Grunge Paint Strokes Photoshop Brushes
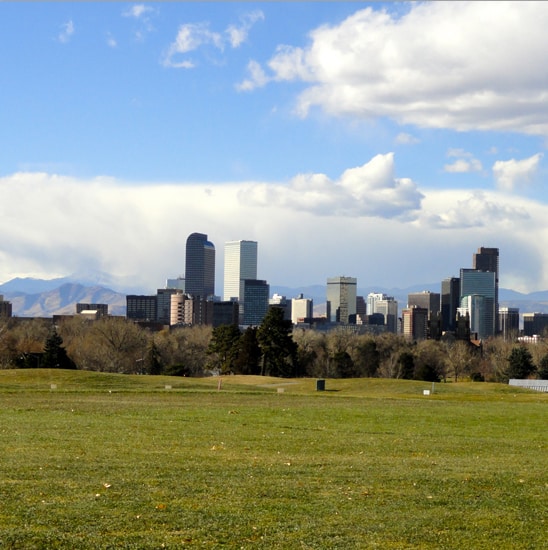
1. Create a new document with the size of your choice & copy/paste the City Landscape image. Shrink it down by pressing CTRL+T and drag down a corner while holding down the shift key.
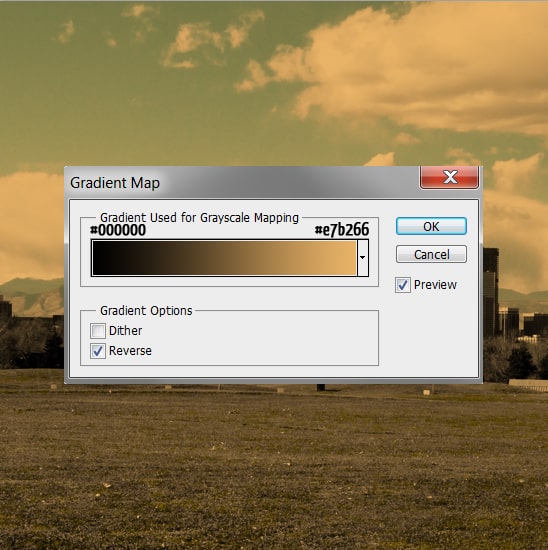
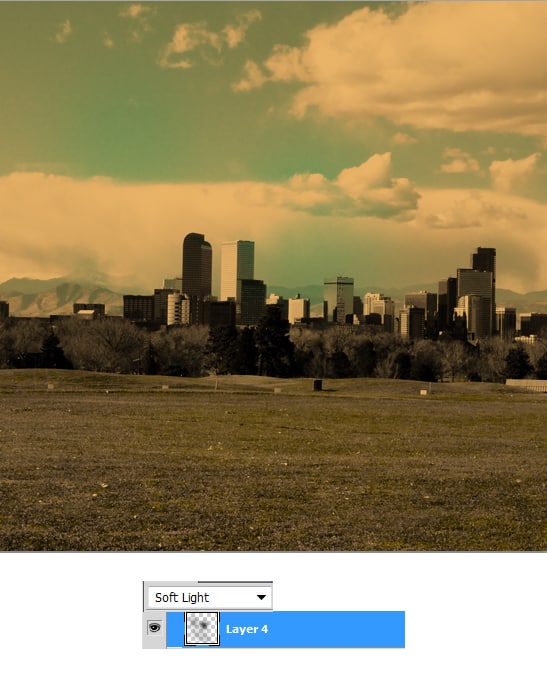
2. Duplicate the image, and set the new layer’s Blending Mode to Darken. Then go to Image > Adjustments & Gradient Map. Put  in the colours below.
3. Next create a new layer & place it in between the 2 photo layers & set the Blending Mode to Soft Light. Using a soft edged (dark grey) brush, brush where you want the colours to come through more.
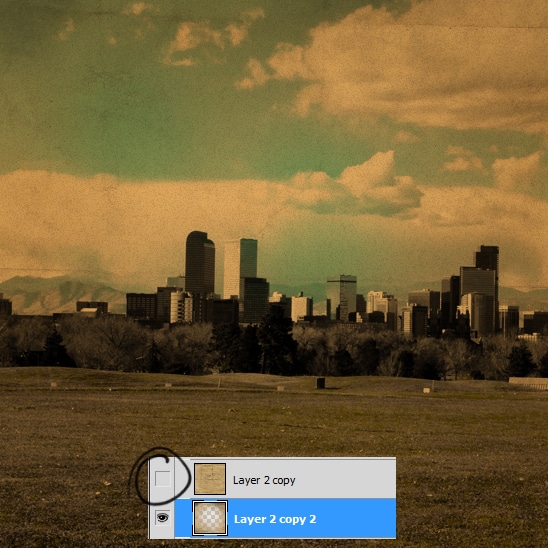
4. Next copy and paste the Old Paper Texture onto the canvas, set the Blending Mode to Multiply & the Opacity to 50%.
5. Duplicate the layer & remove the top layer from view for now. With the paper texture below erase the middle of the texture using a soft edged eraser.
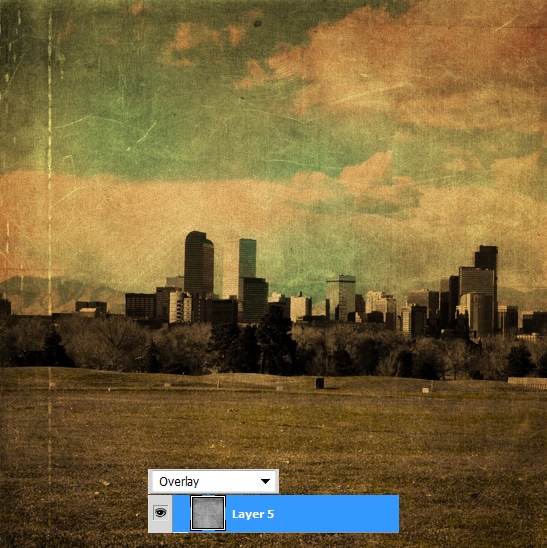
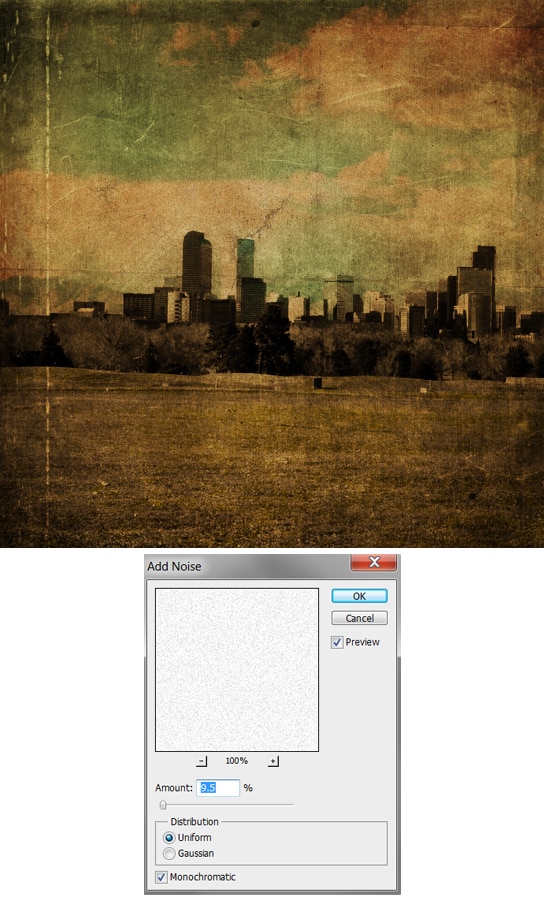
6. Next copy and paste the metal texture onto the canvas & set the Blending Mode to Overlay.
7. Duplicate the Metal layer and using an eraser, remove the middle section of the texture so it’s only showing the edges.
8. Place the Old Paper Texture (you removed from view early), over all of the other layers & bring it back in view.
9. Next create a new layer. Using vertical & horizontal brushes from the Grunge Paint Strokes place them around the edges like below. Set the Opacity to 20%.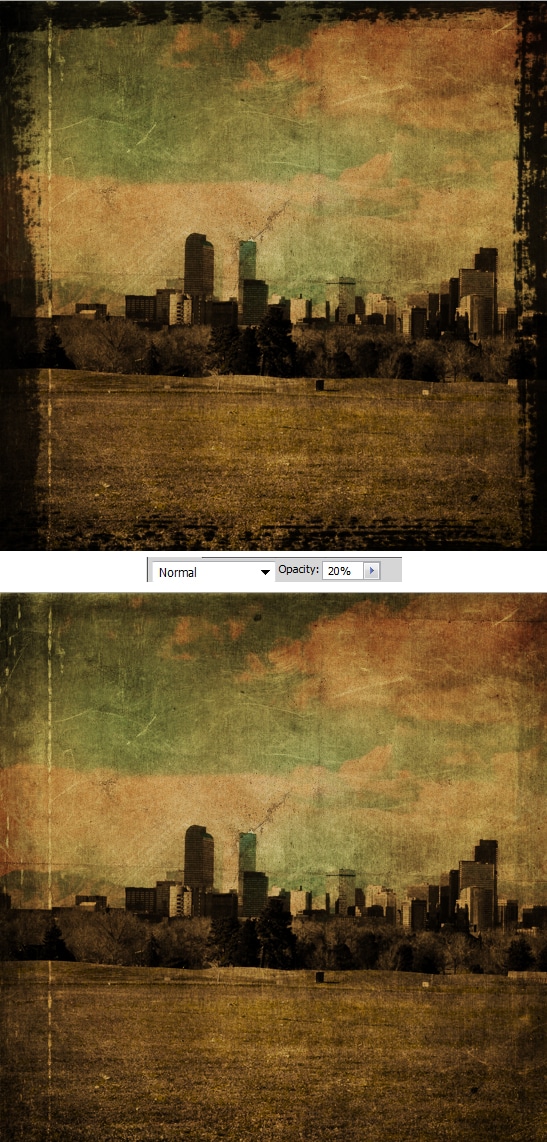
10. Lastly create another layer, fill it white & set the Blending mode to Multiply so it’s invisible. Next go to Filter > Noise > Add Noise.
