How to Apply Wallpaper to an Accent Wall
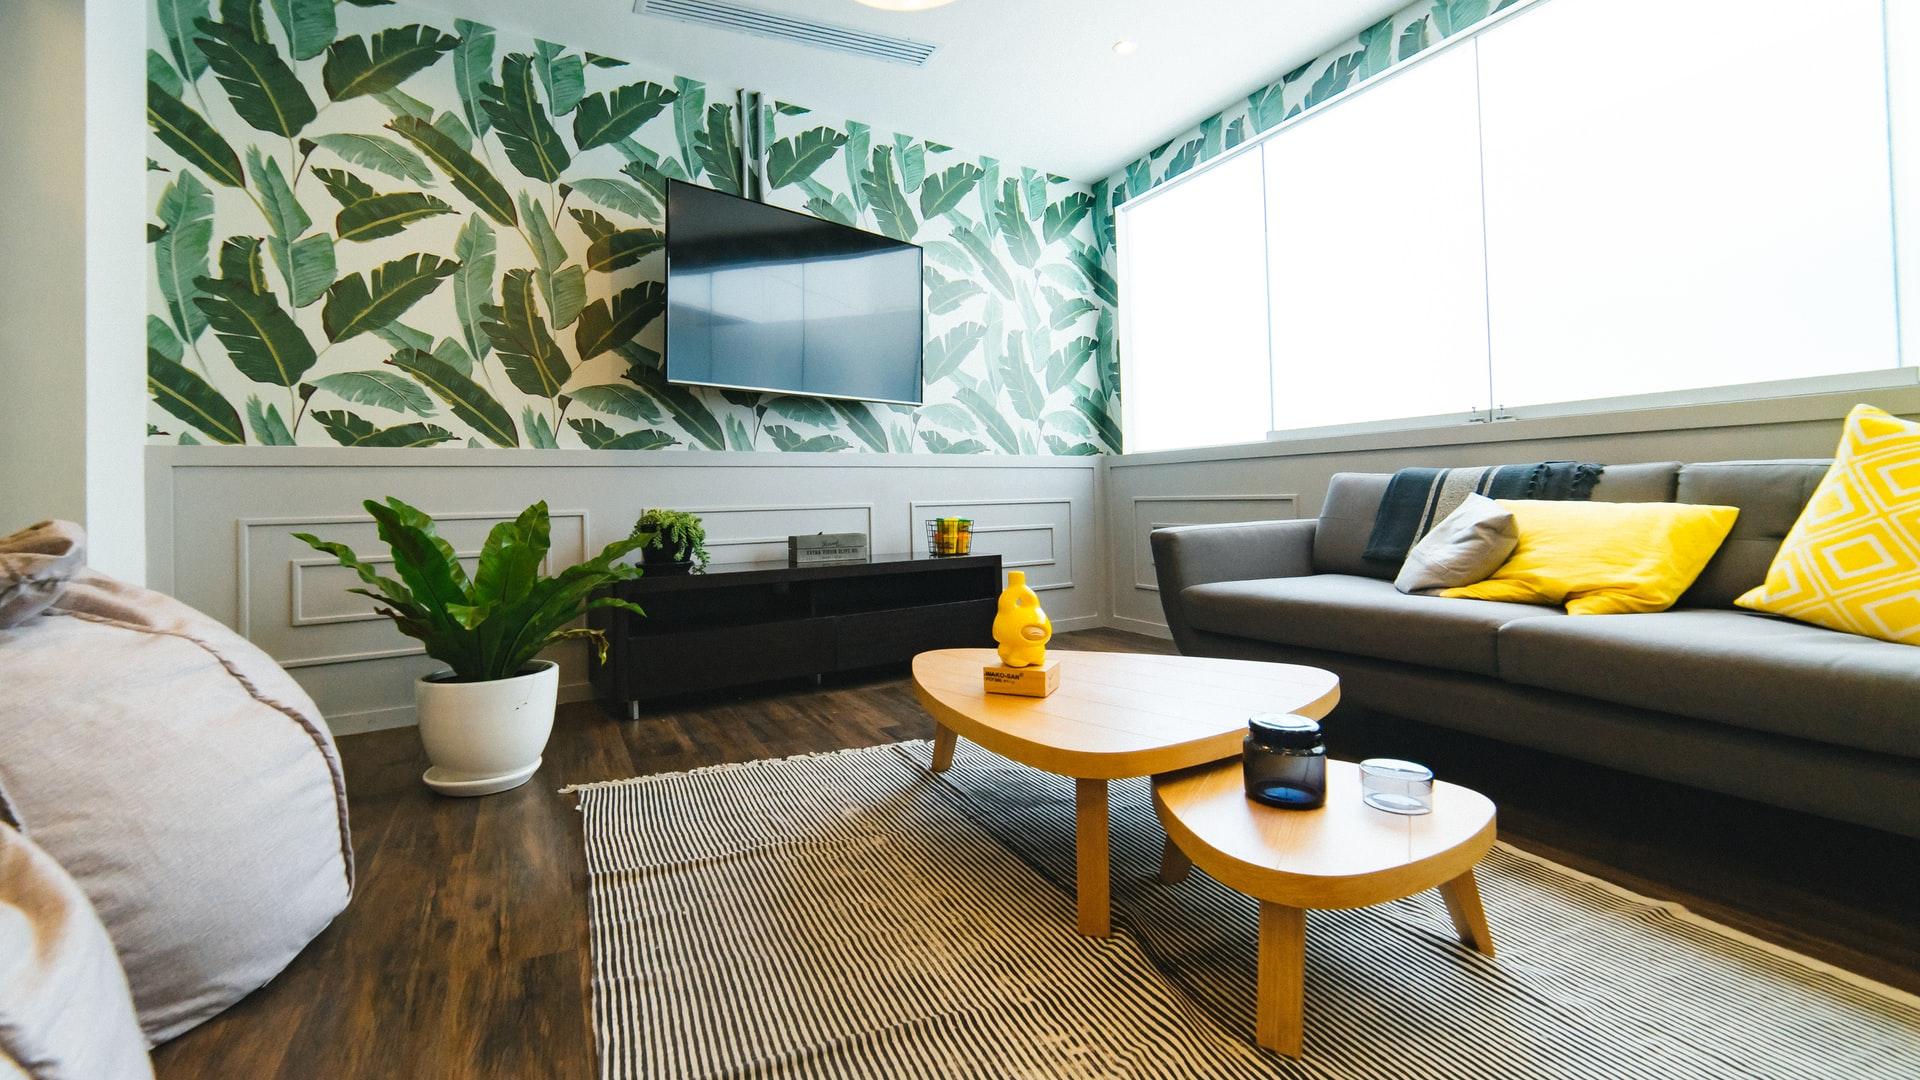
When you want to put wallpaper on an accent wall, there are a lot of steps to do it properly. If you have never put up wallpaper before, a space area like an accent wall is something that you certainly can do. There are various types of wallpaper available, and there is a peel-and-stick version that is less permanent but is much easier to apply to your accent wall. Even if you’re a first-timer, this Angi, formerly Angie’s List, guide can help you to do it properly.
Wallpapering Tools
There are plenty of tools that you need, again, depending on the type of wallpaper you are hanging. You will certainly need wallpaper and paste, if your type of wallpaper uses paste, a ladder, level, tape measure, sandpaper, utility knife, seam roller, and a smoothing brush. All of these are available from virtually all big-box home improvement stores. Make sure that all of these are present before you begin your wallpaper installation project.
If you want an easier time of it, there are plenty of optional tools that can help. These include some spackle, a water tray, sponges, a bucket, a putty knife, rags, and a screwdriver to help you remove light switch covers and outlets.
Preparing to Apply the Wallpaper
There are several stages of the job that must be completed in order. First, you will prepare the surface of the wall for the wallpaper. You will need to remove the light switch covers and outlets. All of the furniture near the wall should be moved away. If there are any divots or holes in the wall you are repapering, spackle them and then sand down the surface. Clean the walls to get any dust, cobwebs or dirt off the surface. Then, prep the area by adding a worktable or sawhorses to the area to hold your tools and the wallpaper.
Next, you will measure out the wallpaper and cut it. Just as the saying goes- measure twice and cut once. Analyze the pattern of the wallpaper so that you can see how the panels each need to align. Choose where you want the pattern to be against the ceiling, and make a mark on the paper at the right spot. Leave a little extra on the top and at the bottom when you cut so that you can make it fit perfectly and can cut away the excess later.
Hanging the Wallpaper
If your wallpaper is prepasted, you will fill a water bucket, roll up the first panel loosely and then put it in the water. This will cause it to slowly unroll. Once it’s unrolled, lay it across your work surface flat with the back side facing upward. Then, pull the ends toward the middle of the panel so that the paste will begin to activate. If you do not have pre-pasted wallpaper, apply your premixed paste to the back side of the paper, starting from the center and working toward the ends. With either type of wallpaper, don’t crease the paper, and allow the ends to stay folded in toward the panel’s middle.
Then, begin right at the ceiling and unfold the top portion of the panel so that it lines up with either the corner where the ceiling begins or the mark that you drew, leaving a few inches extra on top. Next, gently lower the bottom half. You can wet a sponge and rub it across the wallpaper to get rid of bubbles. The seam roller will be used to get the wallpaper’s edges to stay down. When you hang the next panel, make sure it lines up well to the one that has been hung. Each time you add a panel, check to make sure it’s lined up well. For each panel, make sure you get rid of air bubbles and that you press the edges.
Next, once all of the wallpaper strips have been applied, make a crease at the top where the ceiling meets the wall as well as at the bottom with a putty knife. You can then cut away the extra with a utility knife. Once everything has been done, you can press the seams again and look over the paper to make sure it’s flat. Then, it’s time to replace the light switch covers and outlets. Your accent wall will then have a brand new look.


