See Why An Ombre Effect On Your Walls Can Be Just The Design Touch You Were Missing
Ombre hair has become a big deal, but so have ombre walls. Color fading works not only for hair but also for interior décor, and interior designers cannot get enough of this effect. We break down what ombre walls entail, how you can get them right in your home, and why wallpaper might be the best idea for your space:
What are ombre walls?
If you have kept up with the latest hair trends, salons have been making a kill with the ombre hairstyles. They start fading hair colors from the roots to the tip of the hair, creating a visually appealing finish. Hair has not been the only benefactor of this trend. Nails and fabrics, too, have also greatly benefitted from this trend. So have walls!
Ombre, which means shaded, has become quite a point of interest. The idea is to fade out the same color in walls from the bottom to the top to create a natural effect. For example, continuously fading out a light blue hue gives the allure of a sky. But if you do the same thing with an orange peel and stick removable wallpaper, you get a sunset replica. As you can see, the result comes down to the color and pattern used.
Ombre walls have become popular because they offer a sea of opportunities and work for pretty much any space. Therefore, whether you are updating a bedroom or giving your study a touchup, an ombre wall can work.
Wallpapered vs. Painted Ombre Walls
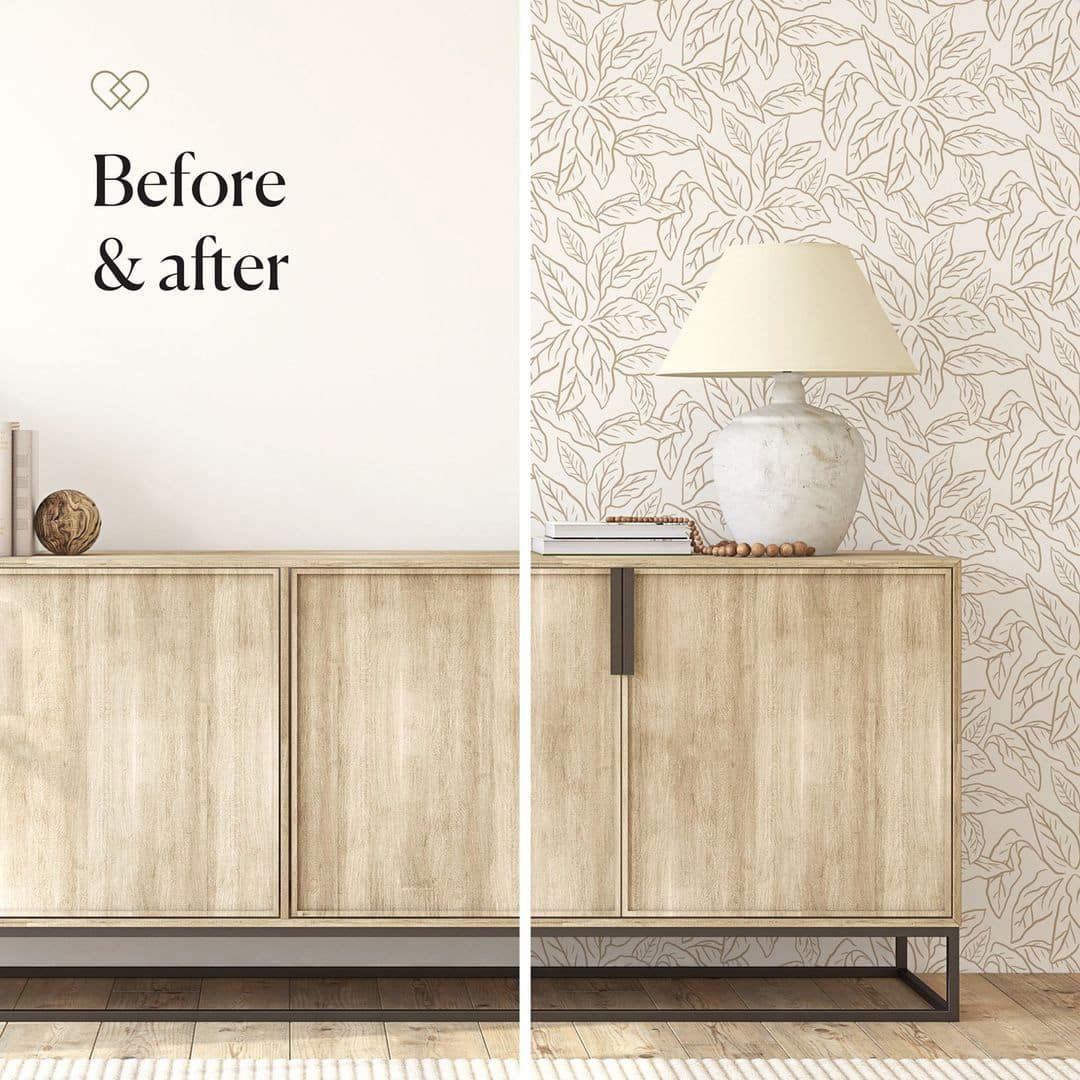
As the trend picks pace, people have been stuck between wallpapering their walls and painting them. So, is any option better than the other? Sure! Removable wallpaper, like the options shown in https://www.lovevsdesign.com/watercolor-ombre-wallpaper.html, allows you to experiment more with styles. To start with, it is cost-effective due to low upfront and labor costs coupled with durability. Additionally, it is temporary, and once you get tired of the design (we all know trends pass), you can take it off and embrace another idea.
Moreover, wallpapering is easier than painting. Getting the hang of painting walls takes a while, and it is easy to mess up, especially with ombre walls that require all the precision you can get. Rather than fumble with the paintbrushes and try to get each stroke right, how about papering the wall? Your mistakes will be less obvious, and as a bonus, you can also hide the imperfections in your wall. Besides, you also get to protect your wall by creating a barrier between it and dirt.
How to Achieve Perfect Ombre Walls
Are you ready to start wallpapering your walls? Before you do, here are some of the factors you must consider. While ombre walls may seem like a walk in the park, a lot of work goes into ensuring they come off looking right.
Color Choices
First, you need to find colors that talk to each other rather than contrasting with each other. With stripes and other wallpaper ideas, going for contrast always works. However, with ombre walls, the goal is to seamlessly move from one shade of a color to the next. So, you have two options in this case. First, you can go with adjacent colors. For example, a light red can work with a dark orange as they are both pretty much related. That way, you can start with the red and have the orange at the top, creating a transition effect. This kind of variation will have a dramatic effect, and if that is what you want, it works.
However, even when aiming for a dramatic effect, you must keep in mind that the colors must talk to each other, not scream! For example, when creating an ombre wall, using dark blue and orange would not work. Not only would it look off, but it would make the room feel unsettling. Find out what colors transition from each other and which ones do not belong on the same wall.
But if you want the transition to be even more unnoticeable, you can work with a single color. For example, you can work with orange alone. In this case, you would need to have dark shades of orange at the bottom as you work your way to lighter oranges at the top.
Planning
Think about what you want to communicate. Are you going for a peaceful transition? Are you replicating a natural scene? Ask yourself a series of questions. Measure the room and come up with concepts that work with its size. Also, consider how much wallpaper you would need to get the ombre effect and how you would layer it. Going to the store without a clear plan can have you sitting in the room, unsure what goes where. Look at what other people have done, gain some inspiration and find your starting point.
Patterns
Is there a rule on fading? Some people swear by fading from the bottom up but guess what? You can also fade from the top down. If there is a cascading effect, the ombre wall will be just fine. Oh yes, about the rule- you cannot fade towards the middle. You see, as colors transition from one to the other, they create the illusion of height. So, even in a room with short ceilings, a fade up or fade down technique will make the room feel taller. But if you fade towards the middle, you make the room feel smaller. Besides, the effect will not look good, and instead of creating allure, it will make people a bit uneasy.
That is the only rule you must keep in mind. You can then focus on gradually fading from one color to the other.
Examples of Ombre Designs
You are free to work with any colors if they can mesh well. But for inspiration, you can work with:
- Light colors with a white finish: This combo creates a minimalist effect and is a simple look that fades into the background.
- Grey on grey: If you want to be stylish without overpowering the room, this should work.
- Pink & grey: Would you think that these two hues would mesh? Not only are they visually appealing, but they also impart both masculine and feminine vibes.
- Blue on blue: For a serene finish, you can try this, especially in the bathroom.
When it comes to ombre walls, your options are endless. Thus, whether you go for a soft fade or a dramatic look comes down to you. Have fun!


