Creating a Custom Zoom Virtual Background
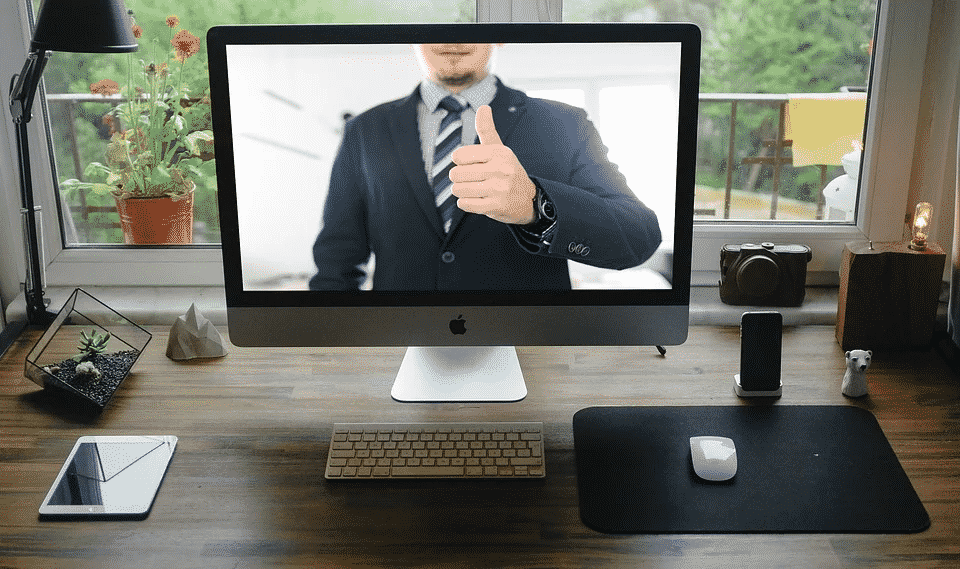
Zoom has various fantastic features that make it stand out from other video conferencing platforms. One of which is its virtual background option.
Adding a background image to your conference call has many advantages. If you are working from home and there are kids’ toys or dirty plates behind you, a virtual image enables you to hide the mess, which is particularly handy when it comes to remotely-talking to clients and managers. You can also use virtual backgrounds to inject a little humor into a remote meeting. For example, if you are running a meeting about high-flying achievers, you could use a background that depicts an airplane’s interior. And if you are using Zoom for non-professional purposes, you can have a lot of fun with the images you choose. For instance, you could video call friends and have them believe you are standing by the pyramids in Egypt!
Image source: https://pixabay.com/photos/online-meeting-virtual-skype-zoom-5059828/
Choosing Your Own Virtual Backgrounds
Depending on the Zoom app you use, your default virtual background options could be limited. Some default options only include a few background choices like a field of grass and the Golden Gate Bridge. However, you have the option of customizing your own images or using ready-to-go virtual backgrounds that are compatible with Zoom. At Hello Backgrounds, you will discover a whole range of virtual zoom backgrounds for every occasion, including pictures of private offices, meeting rooms, and city skylines.
Sizing Your Own Images
If you decide to use your own images as virtual backgrounds, all you need to do is click the plus sign next to the Zoom default image options to add any picture you wish. However, that does not necessarily mean the image will look good. Zoom does not restrict the dimensions of your image, which means any picture will work. However, portions of the picture will be cut off if the image does not match the aspect ratio of your camera. In addition, if the image you use has poor resolution, it could appear fuzzy. To avoid that, make sure each of the color bars in the image is the same width. So, to make your images appear how you want them to, ensure the picture matches the aspect ratio of your webcam and has a high-quality resolution.
Making Your Images Fit Properly
To ensure your choice of background image matches the aspect ratio of your camera, and therefore fits the screen without being cropped, you need to find out what the aspect ratio of your webcam is. In Windows, open the Camera App and go to the Settings menu. For Macs, click on the Apple icon, and go to About This Mac, then Support, and then Specifications. You will then be able to view your system specifications to verify and change your camera settings accordingly.
Most built-in laptop webcams are either 720p or 1080p. That means they have an aspect ratio of 16:9. That facilitates images that are either 1280 x 720 pixels or 1920 x 1080 pixels. Other webcams can be set to a 4:3 aspect ratio, which facilitates images of 1024 x 768 pixels or 1280 x 1024 pixels.
Choosing the Right Virtual Background
Apart from using the right size and resolution for an image, you need to make sure the picture you choose is appropriate for your means. For instance, if the image is too dark, it may be difficult to see. But conversely, if the image is too bright and busy, it can distract from your call. If you are using virtual backgrounds for professional purposes, consider using a plain blue background. Generally, minimal backgrounds work best for professionalism. But if you are just calling a friend, you can choose any image you want.


