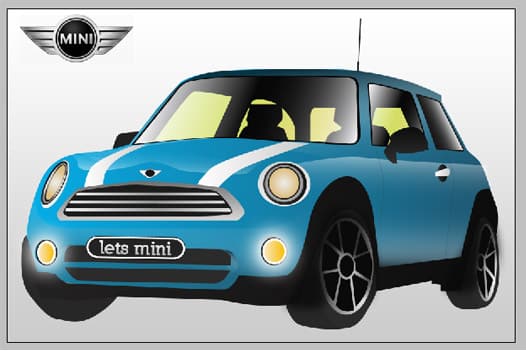
Mini Cooper Illustration Tutorial
Learn how to create a Mini Cooper Car Illustration in Illustrator and Photoshop!
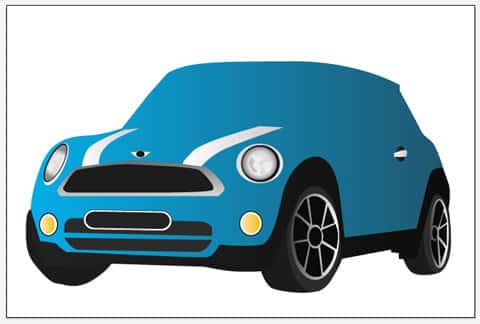
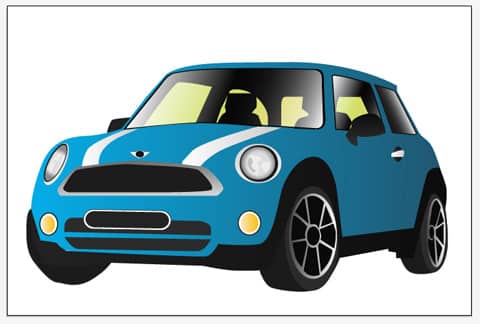
Final Result
Illustrator
1. Create a new document in Illustrator, get a picture of a Mini Cooper and paste it onto the canvas. Lock the layer and create a new layer for the illustration. 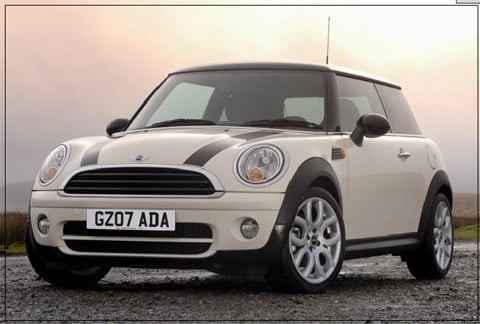 2. I’ve decided to create a blue Mini, grab the pen tool and trace around the body of the car using the gradient color below.
 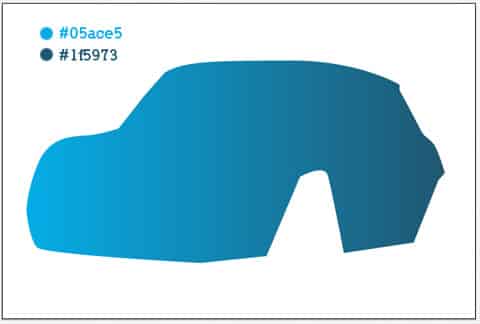 3. Next trace around the bottom of the car using the color below.
 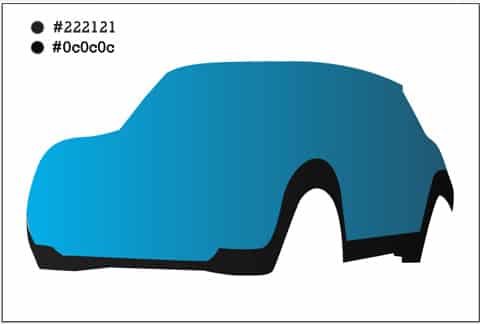 4. Grab the circle tool and trace over the wheels.
 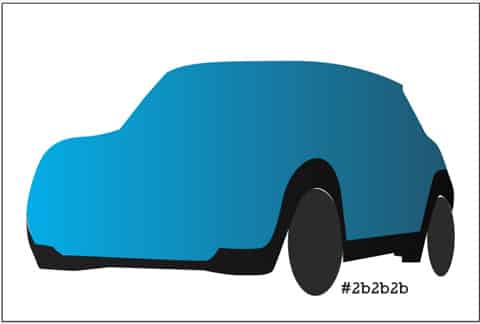 5. Now create the tyres.
 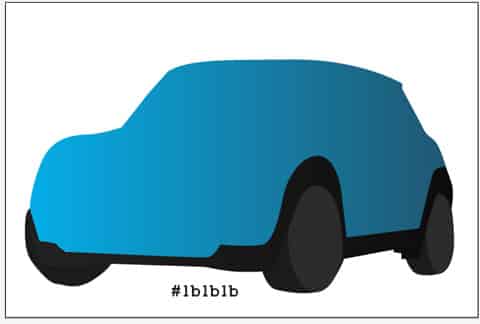 6. Next using the circle tool create the metal part of the wheels using the gradient colors below.
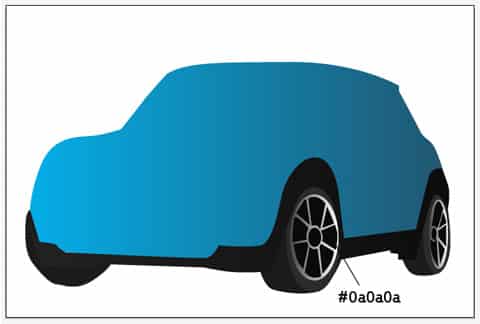
 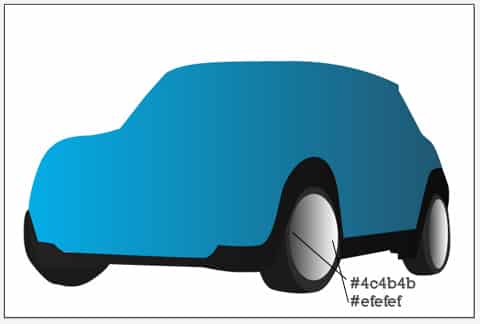 7. Get the pen tool and create the ‘spikes’ on the the wheels.
  8. Create a new layer for the features of the car, hide the car body layer and trace around the ‘grill’ of the car using the pen tool and create the lights and license plate (create a circle and rounded rectangle shape with a fill color of white and stroke color of a dark grey, then duplicate each shape and fill using the colors below).
  9. Create the headlights with the circle tool. Create another ‘grill’ using the same dark grey color as the previous grill, and a silver gradient frame.
 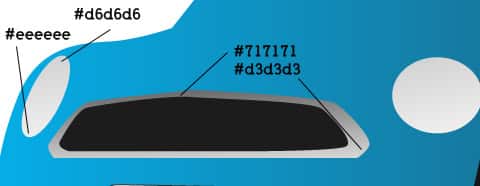 10. Create another circle for the headlights, trace the silver/white gradient stripes on the hood of the car.
  11. Trace the small logo and handle.
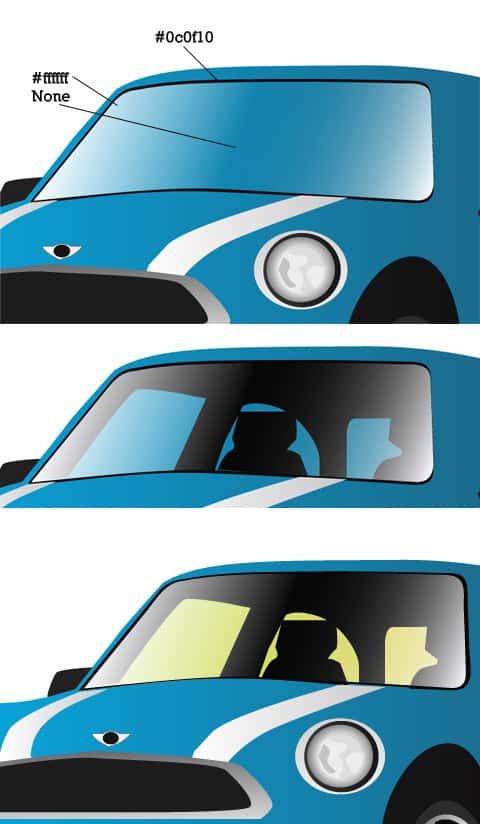
  12. Create a new layer, trace around the windscreen with the pen tool with a stroke and gradient using the colors below. Next create another layer and put it underneath the windscreen layer, using a dark grey or black trace around the insides of the car. Duplicate the windscreen layer and place it underneath the insides of the car layer, remove the stroke and put in a light green gradient for the outside of the color.
  13. Follow the same steps again for the next window.
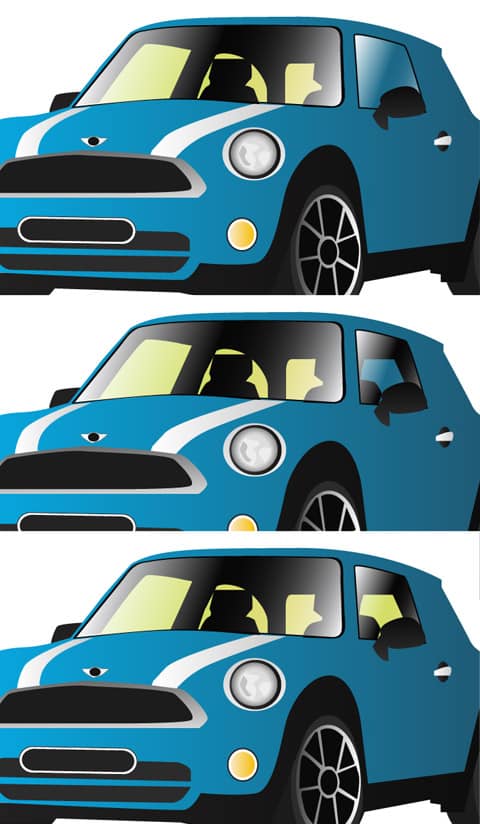
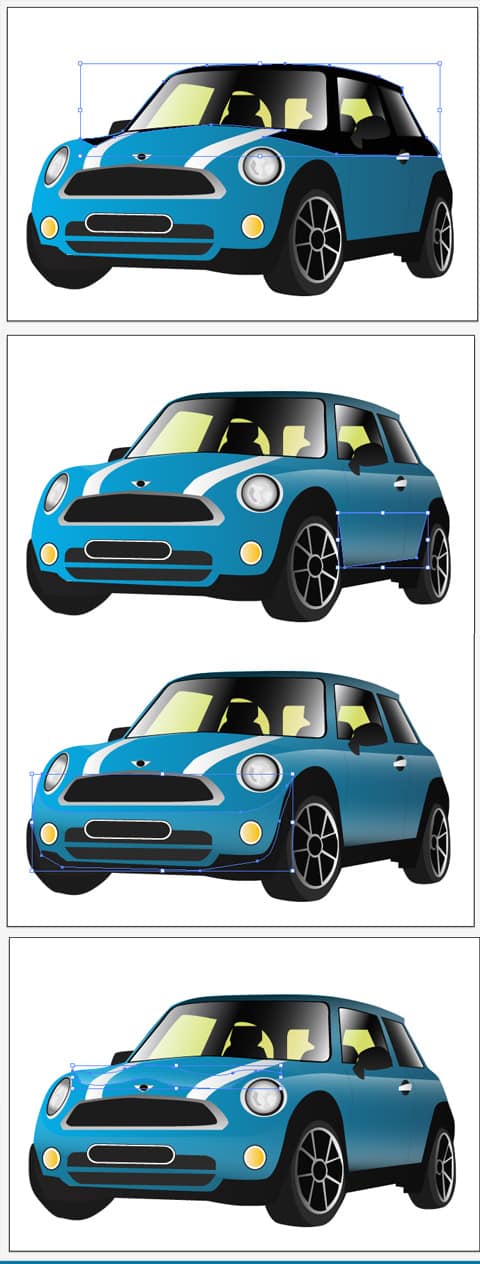
 14. Now for the car shades and tones, create a new layer and put it on top of the blue car body. Using the pen tool create the shades of the car, for the dark tones choose a gradient of dark blue to none or white to none.
  15. Create a new layer again,using the circle tool create more features in the headlights with the color gradients below.
  16.Using a gradient of dark grey to none create some shades for the lights with the pen tool.
  17. Next trace the antenna part of the car.
 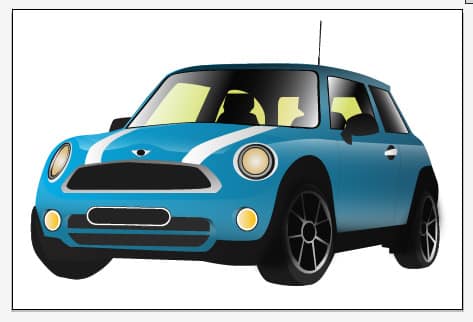 18. Using color gradients draw the metal part of the grill below.
Photoshop
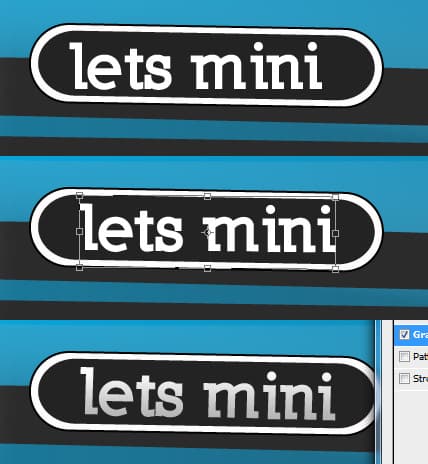
19. Save the Illustrator Document and open it up in photoshop. Create a new layer, select the Elliptical Marquee tool, trace around the small headlights and fill it with white. Set the Blending Mode to Multiply, Right-Click, go into blending options and create a outer glow using the settings below. 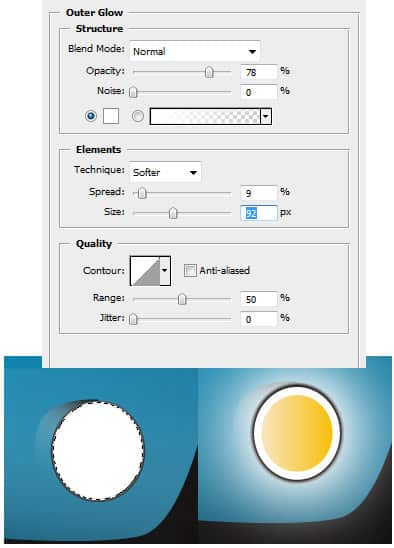 20. Grab the text tool, write the number plate name. Press ctrl+t and rotate the text. Right-Click and go into Blending Options and set a light black to White gradient.
  21. Create a new document that’s 600×800 and drag the layers onto the new canvas. Double Click the background layer and set a light grey to white gradient. Get the mini logo from here and place it in the top left corner.