Design/Dev
cat photoshop photo manipulation, fantasy photoshop photo manipulation, photoshop photo manipulation, photoshop photo manipulation cat tutorial, photoshop photo manipulation fun tutorial, photoshop photo manipulation new, photoshop photo manipulation tutorial, surreal photoshop photo manipulation
Robert Nash
Create a Surreal Cat Photo Manipulation in Photoshop [Tutorial]
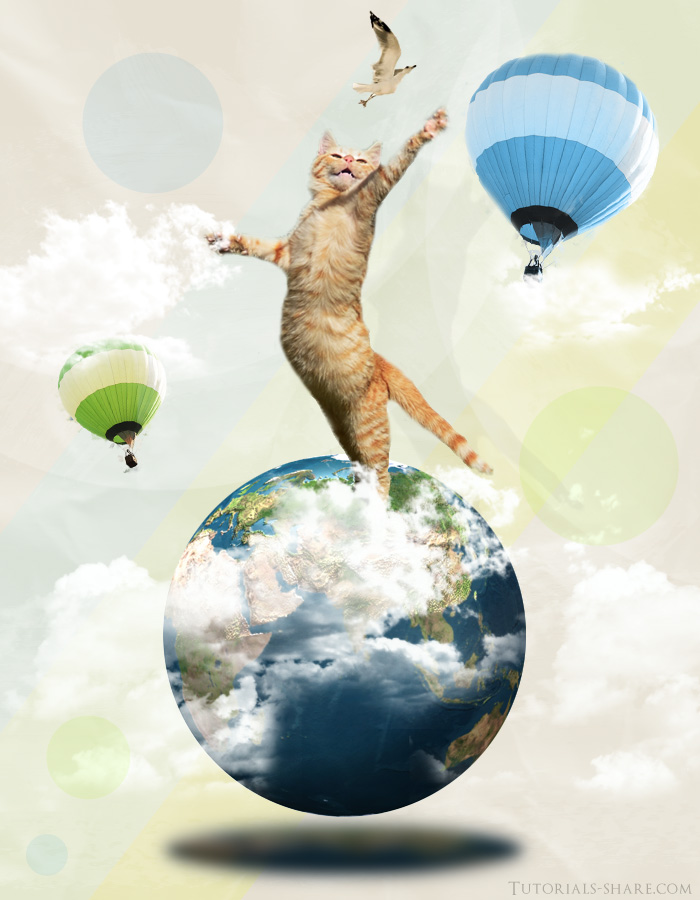
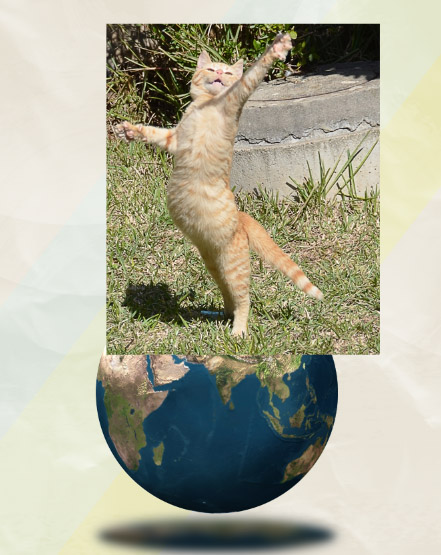
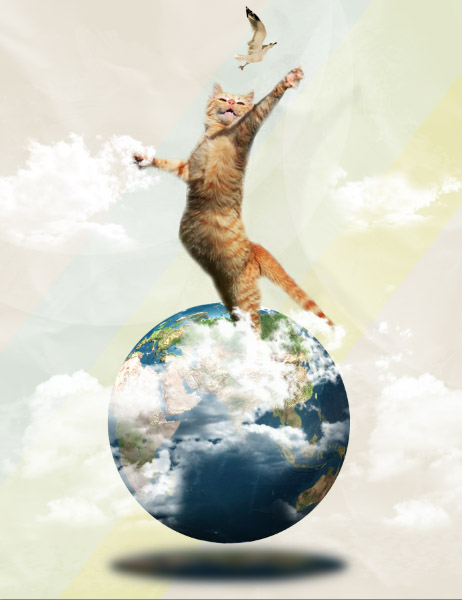
For this idea we’ll be creating a Surreal Cat Photo Manipulation in Photoshop Tutorial. You’ll learn how to work with a couple of images to create this playful Photo Manipulation in Photoshop.
We’ll be learning how to create a Playful Cat & Earth Photo Manipulation. To create this we’ll be using a mixture of Photos, brushes and shapes and using various techniques in Adobe Photoshop or another image manipulation service.
Tutorial Details
Program used: Adobe Photoshop CS5
Estimated Time: 1.5 Hours
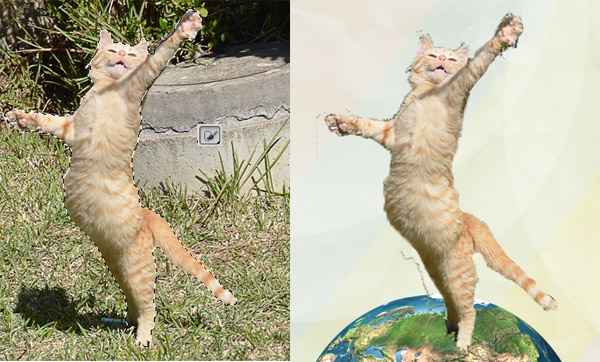
Difficulty: Advanced
Final Result
Background
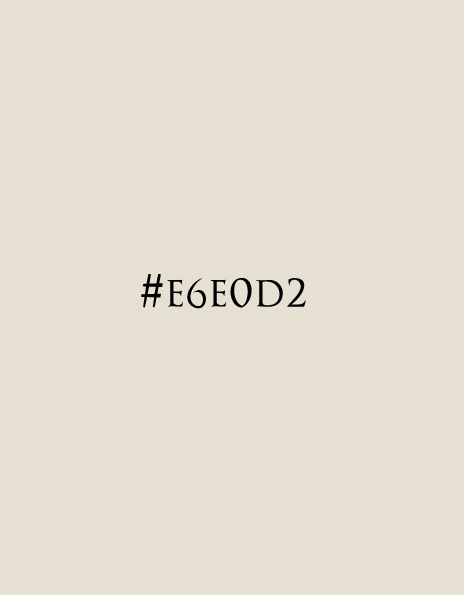
1. Create a new document that’s 700×900 pixels and fill the background #e6e0d2.
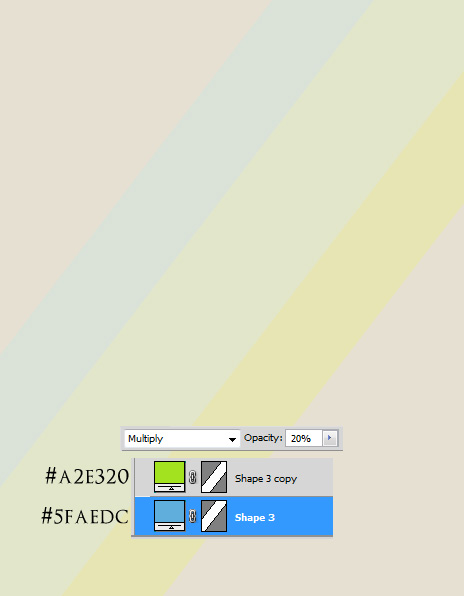
2. Select the Rectangle Tool and draw a long rectangle, to rotate the shape press CTRL+T and rotate a corner. Duplicate the shape by dragging it to the new layer icon and have it overlapping with the first shape. Make the colours and opacity to below:
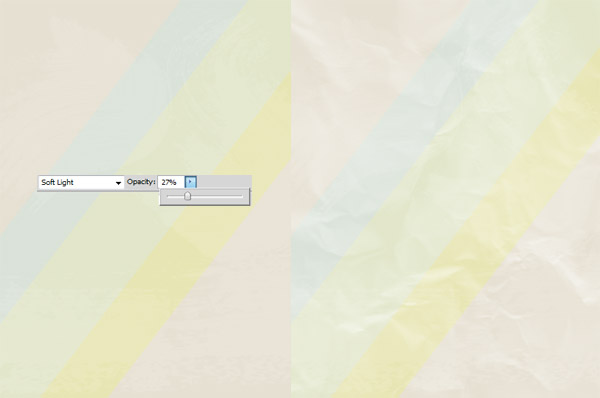
3. Create a new layer and select draw on a couple of the Grunge Paint Strokes in white, set the Blending Mode to Soft Light and the Opacity to 27%. Again create a new layer, select a Paper Texture brush this time a press on the texture in white.
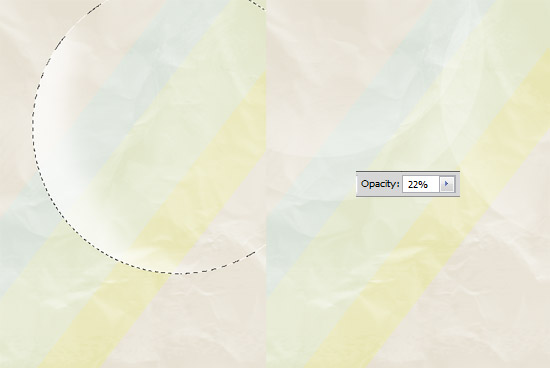
4. Select the Elliptical Marquee Tool and hold down the Shift Key to draw a perfect shape. Create a new layer, select a large soft edged brush and draw along the edges of the circle like below and set the Opacity to 22%. Duplicate the shape various times and rotate until you get the look you desire.
Earth
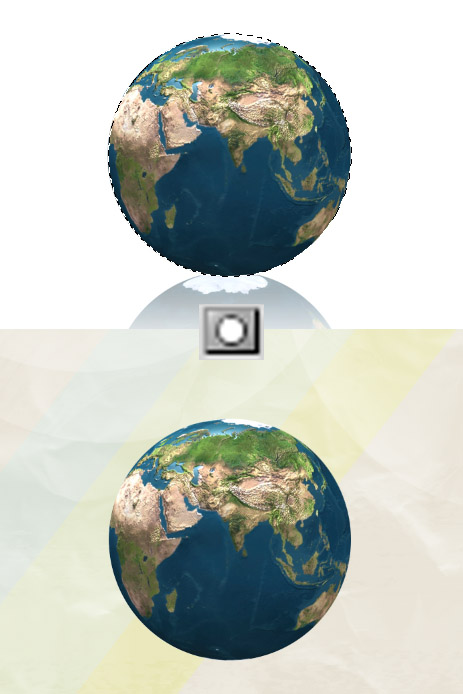
5. Copy and Paste the earth image onto the canvas, to make the image smaller press CTRL+T and drag a top corner down while holding down the Shift Key. Draw over the earth using the Elliptical Marquee Tool like below and click on the Add Layer Mask icon to crop the earth image down to the circle.
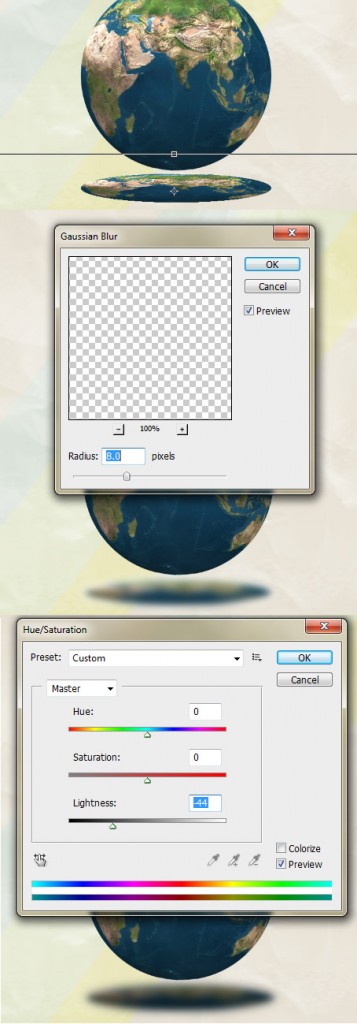
6. Duplicate the earth image and press CTRL+T on the second earth image, shrink the earth down and move below the first earth like below. To turn the duplicated earth into a better shadow, go into Filter > Blur > Gaussian Blur and put in 8. Then go into Image > Adjustments > Hue/Saturation.
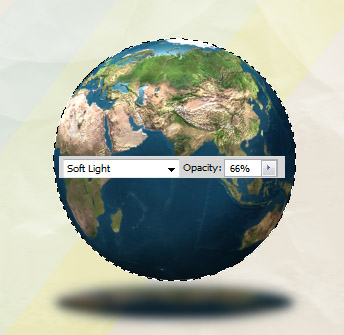
7. While holding down the CTRL Key click on the main earth’s Mask Thumbnail to bring up the marquee. Create a new layer and draw on a shadow using a black soft edged brush. Set the Blending Mode to Soft Light and the Opacity to 66%.
Cat
8. Next copy and paste the cat image onto the canvas.
9. To crop the cat out of the background we’re going to be using the Quick Selection Tool (in versions CS4 & CS5). Using the tool, drag through the cat to select it. If it selects an area you don’t want, hold down the ALT Key to subtract. It’s best to using the Quick Selection Tool with various brush sizes to get the best result. With the cat selected, click on the Add Mask Layer to crop the image down to the selection. The cat will still have rough edges, so we’ll fix that up!
10. Click on the Mask layer on the cat & using a soft edged black brush, erase the edges of the cat. If you make any mistakes, just change the brush colour to white and brush on the areas you want to bring back. Next click back onto the cat layer, go into Image > Adjustments > Brightness/Contract and put in the settings below to make the cat more vibrant. 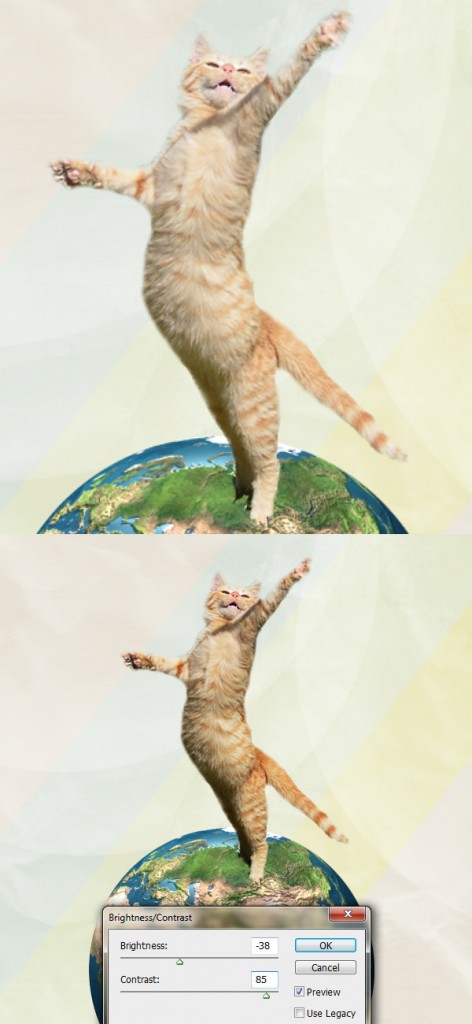
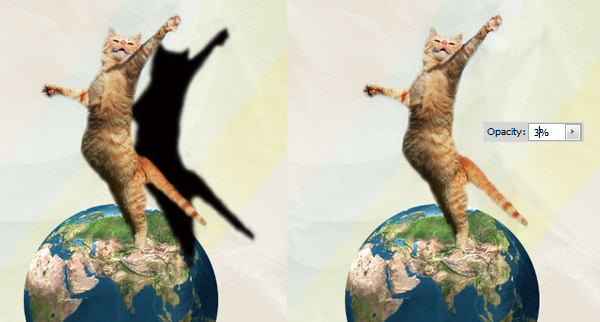
11. Duplicate the cat and move the behind cat layer across like below. Double click on the cat layer to go into Blending Options > Color Overlay and make it black. Set the Blending Option to 3% for a nice shadow.
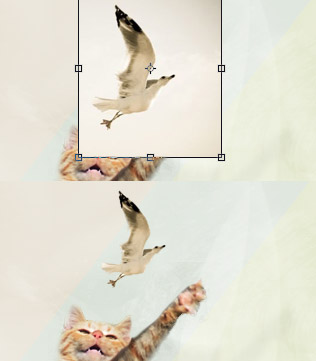
12. Repeat steps 9, 10 & 11 for the bird image.
Clouds
13. Create a couple of new layers and draw on some white clouds and experiment with the positioning of the cloud layers.
Circles
14. Next draw some coloured circles using the Ellipse Tool. Set the Blending Mode to Multiply and the Opacity to 20% to make the circles subtle. 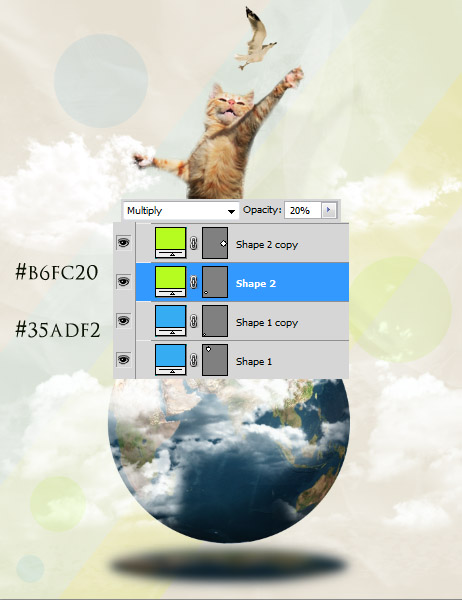
Hot Air Balloons
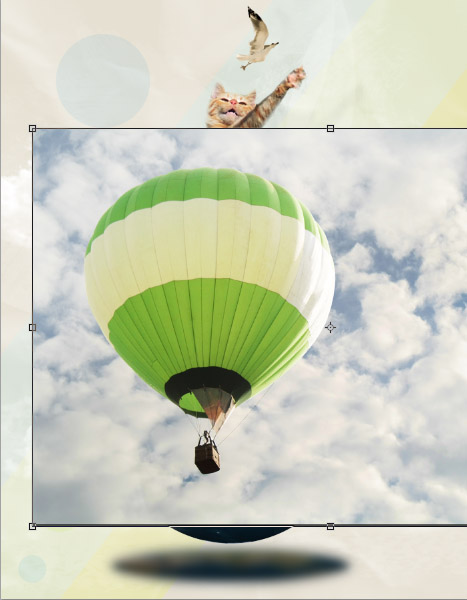
15. Copy & Paste the Air Balloon image onto the canvas. Repeat steps 9, 10 & 11.
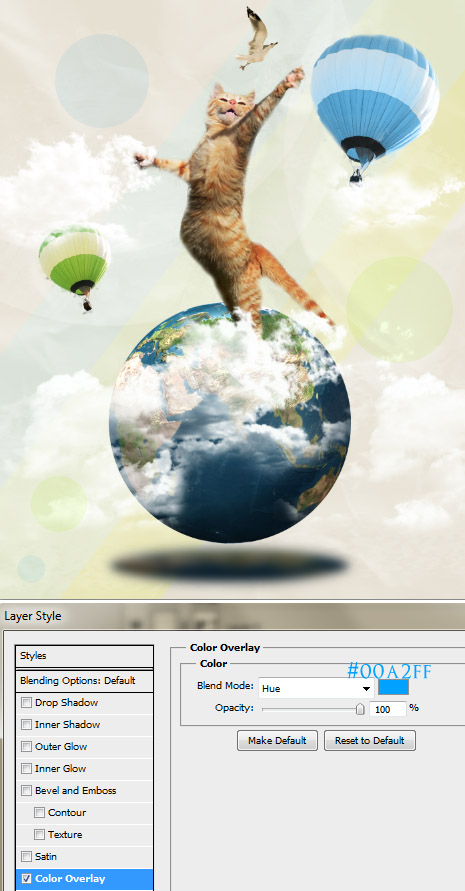
16. Once the air balloons are complete, duplicate the image and place them nicely on the design. If you want to change the colour of the air balloon, double click into Blending Options > Color Overlay, choose the colour you want and set the Blend Mode to Hue.
