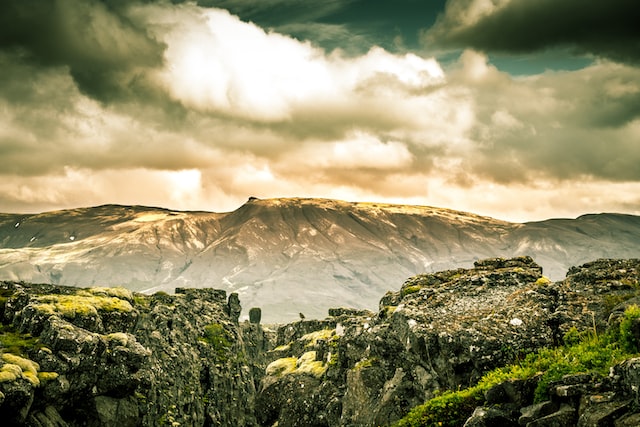
To understand what HDR is, just look at the photos taken with this technique. You will see a contrasting image with good detail in both light and dark areas. To compare, you can take the same photos with and without HDR technology, and the difference will be obvious. To get perfect results in your pictures, don’t forget about post-processing. Luminar Neo offers the HDR photo merge feature for stunning images. The unique AI technology will quickly and efficiently retouch any image.
In today’s article, we’ll talk about how to properly set up your camera for HDR photography and give you some practical tips.
HDR Technology. What Is It And Why Is It Useful?
When a person looks at an area, his or her vision adapts to the light and details become clearly distinguishable. The eye adapts to different lighting quite quickly, so we can easily admire landscapes with complex lighting. In addition, the dynamic range that humans see is quite large, which is not the case with cameras.
If the camera adjusts the exposure for the highlights, they become normally distinguishable with all the details, but the shadows become completely black and there is a loss of detail in these areas. If you adjust the exposure to the dark areas, the detail is lost in the overexposed areas. HDR is designed to remove this limitation.
What does it look like in practice?
- The camera is mounted on a tripod. All pictures should be taken from the same place, without the slightest movement of the camera. To completely eliminate the vibrations of the camera, you can use a timer.
- It is necessary to take several shots with different exposures. At the same time, the aperture should not change.
- The frames are then merged on the computer. You can use different programs, but one of the best is Luminar Neo.
Practical Tips
When it comes to camera settings, here are some tips to make it easier to capture high-quality images.
Learning How to Use the Camera
Manuals are pretty boring to read but don’t underestimate their importance. You need to learn all the functions of the camera so that you can fully master all the tools and settings the device offers. Particular attention should be paid to manual settings.
Learning Exposure Bracketing
Bracketing refers to the creation of multiple frames with different settings of any parameter. Bracketing makes it as easy as possible to take three or more shots with different exposures. You only need to press the shutter button once to take a series of shots. If bracketing is not available, you can take three shots manually by inputting exposure compensation one at a time.
Aperture Priority Mode
Since the aperture value needs to remain the same throughout the series of shots, this mode is best. You can, of course, also use full manual mode, but it is not necessary. It all depends on your personal preferences and the way you feel most comfortable working.
Metering Mode
If you don’t know much about exposure metering, it’s best to use the evaluation (integral) mode. The other modes may also be helpful when shooting HDR, but they are used much less frequently. It all depends on the specific scene.
White Balance
White balance is most often used automatically, but you should not always rely on auto. Sometimes it is a good idea to set it precisely. It depends on the scene you are shooting, the weather, the environment, etc.
ISO Value
The ISO setting should be the same as for normal shooting, that is, as low as possible so that noise does not spoil the picture. But there is one tricky thing. HDR photos are particularly susceptible to noise, so this setting is worth special attention. In case of a lack of light when taking pictures of stationary objects, it is better to lower the ISO value and increase the shutter speed.
Tripod
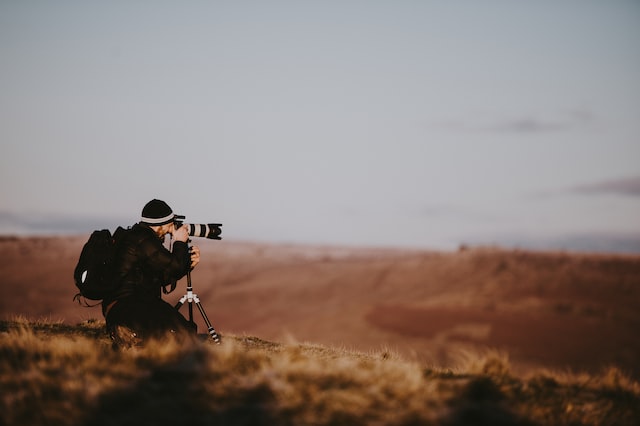
A tripod is definitely a must for HDR photography. It allows you not only to fix the camera rigidly in one place but also to place it in sometimes not the most convenient places for shooting. The main thing is to choose the type of tripod. In general, they do not differ much from each other in the general principle of operation, but there are differences in mounting, size, availability of levels, etc.
Remote Shutter Release
Even on a tripod, the camera can wobble when the shutter button is pressed. To avoid such a situation and to prevent ruining the shot, it is best to use a timer or a release cable.
Choosing the Lens
HDR is most often used when shooting urban landscapes or natural scenery. So the best choice would be a wide-angle lens. But HDR can be used in any style of photography, so don’t write off other types of lenses. Different types of gear may be appropriate in each specific situation, so think about it ahead of time.
Manual Focus
Autofocus can let you down, no matter how advanced it is. It can trivialize the camera to focus on an object that is close to it. The rest of the frame may become blurry. If your goal is to create a landscape shot with maximum detail, you should switch to manual focus mode. In this way, everything in the camera‘s field of view will be sharp.
Leveling
A slanted horizon is the most unpleasant mistake, which can be easily corrected by software, but there is no need for unnecessary actions. It is better to do everything correctly at once and enjoy the result.
We hope our tips will be useful to you. We wish you success!


