Thirsty? Design a Coke Can in Photoshop
In this tutorial I’ll show you how to create a thirst quenching can of Coke in Photoshop!
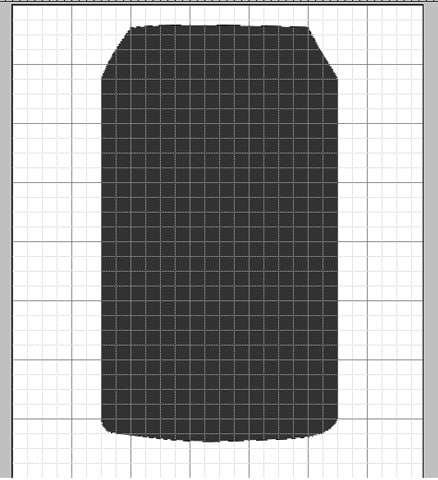 Open a new document in photoshop that’s 500×577 pixels. Press ctrl + ‘ to bring up the grid. Using the pen tool draw the red body of the Coke Can.
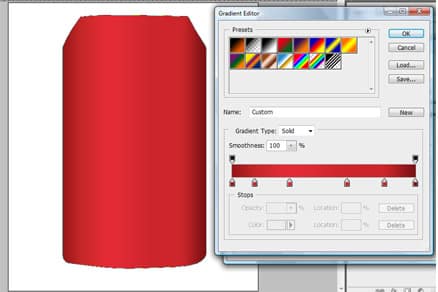 Press ctrl + ‘ to remove the grid. Right click on the can body and go into Blending Options. Go into gradient overlay and from right to left make the colors: #9a1619 > #c22627 > #e22b35 > #cd252c > #ca2529 > #7b1014.
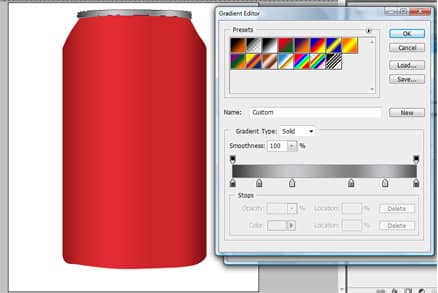 Next draw the silver top of the can using the same steps as before, make the colors: #3a3b3d > #8c8c8b > #cbcacc > #828181 > #c4c3c5 > #525252. Next go into Stroke make the color #202020, opacity 58% and size 1.
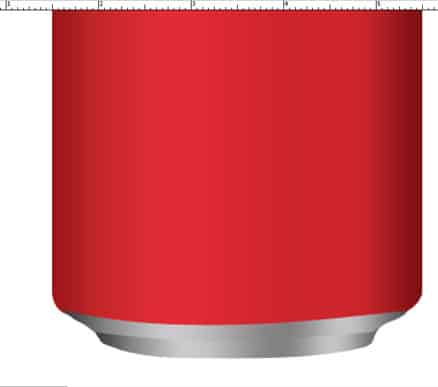 Using the same gradient and stroke draw 2 more silver shapes like this for the bottom of the can.
 Next grab this Coke logo from here. Copy and paste it into the document. Press ctrl+t and rotate the image and edit the size so it fits nicely on the can like this.
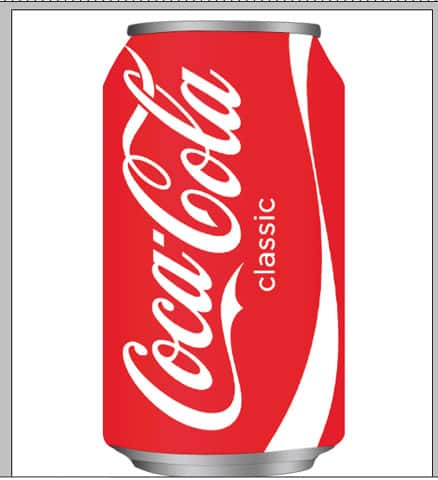 Next go to the first body layer we created with the pen tool, pressing ctrl click on the body shape which should highlight the body. Go to the logo layer and press ctrl + x. Delete the logo layer and press ctrl +v to copy the new logo. Place the logo in the centre of the can so it fits.
 Next duplicate the body layer and put the duplicated layer on top of the logo layer. Change the blending mode to Soft Layer, right click the layer and go into Blending Options > Gradient Overlay and make the gradient Black fading to none. Click on the right of the gradient and make the color white. Next make the gradient opacity 56%.
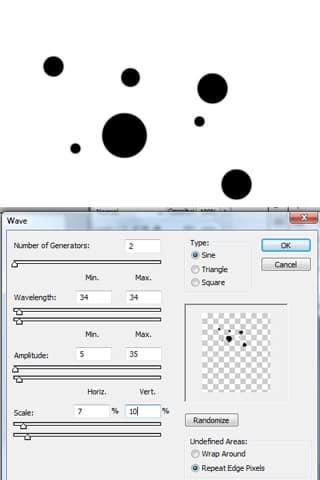 Next to make the water droplets create a new layer.Using the brush tool draw various small sized spots with black like this. Next go into Filter > Distort > Wave and make it this settings above.
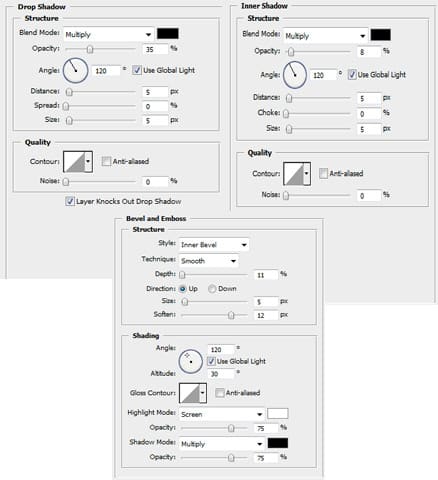 Next right click the brush layer, go into Blending Options and do these settings in Drop Shadow, Inner Shadow and Bevel Emboss.
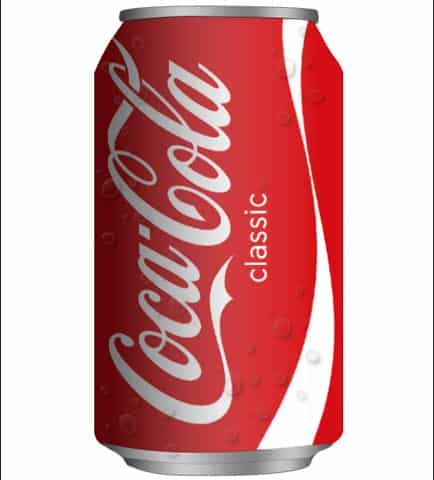 Next put the droplets on the can press ctrl+t to make the size smaller if necessary and duplicate the layer to make lots.
