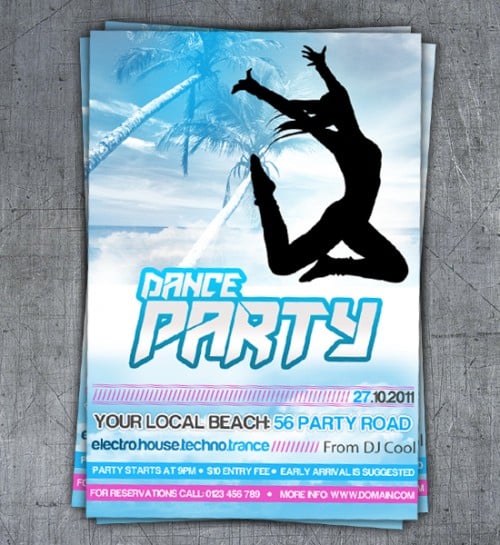
Learn how to design a Dance Party Poster in Photoshop.
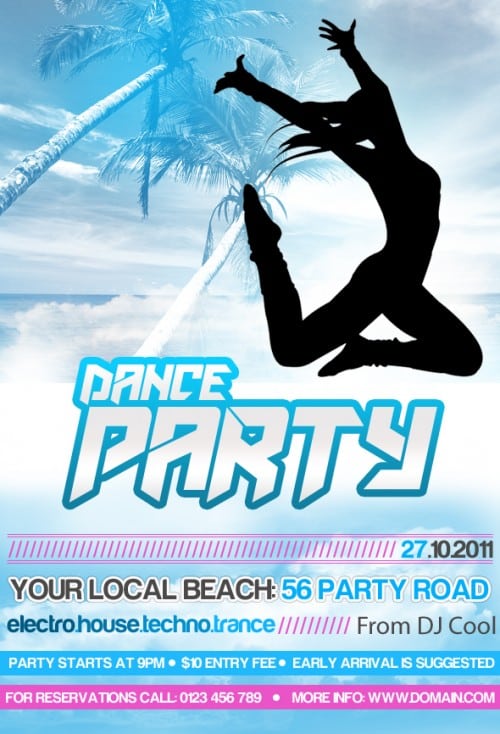
Final Result

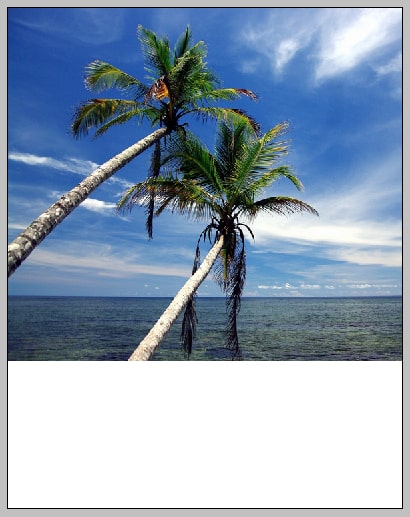
1. Create a new document that’s 590×867 pixels & Color Mode: CMYK. Get this palm tree & beach, copy & paste it onto the canvas. Press ctrl+t to make the image transformable while holding down the shift key drag a corner down to shrink it.
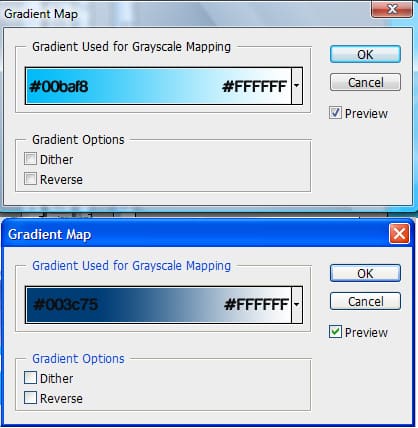
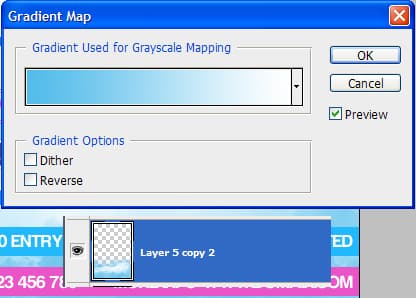
2. Duplicate the beach image by dragging it to the new layer icon. On the first image go to Image > Adjustments > Gradient Map and put in the colours below. Do the same process to the second image.
3. Get a soft edged eraser brush with an opacity of 60% and erase parts of the first beach image.
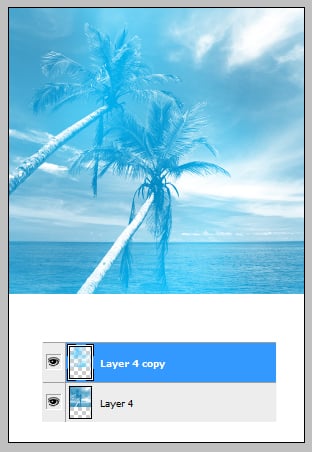
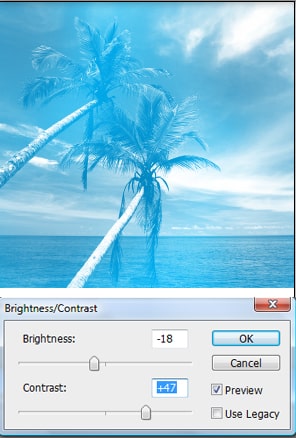
4. On the first beach layer, go to Image > Adjustments > Brightness & Contract. Put in the settings below:
5. Next copy & paste this cloud image onto the canvas. Using the previous method, shrink the image down.
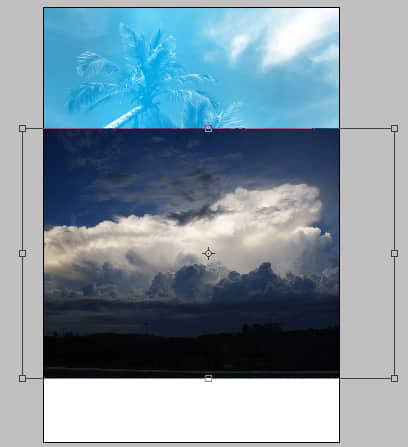
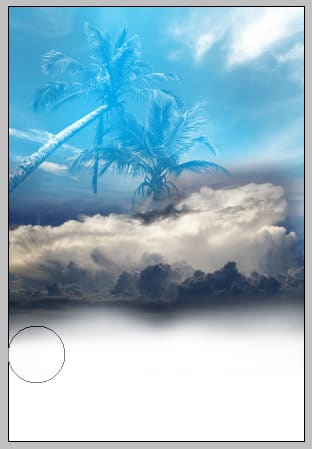
6. Get a soft edged eraser brush tool and erase around the clouds.
7. Set the Blending Mode to Screen on the clouds layer.
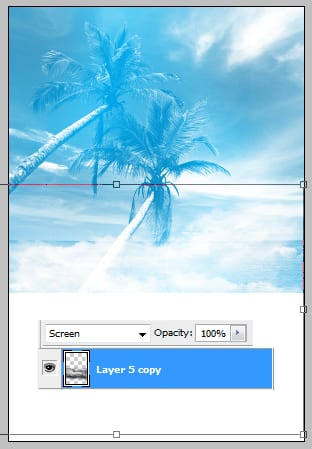
8. Go the each beach layer and erase the bottom of the images so the cloud fades in.
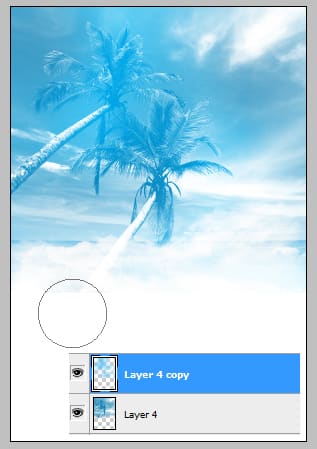
9. Next using the font Amaz Obitaem Ostrov write out the name of your party, make the first word smaller then the second and place it on top, arranging it the way you want. Hold down the shift key and select the 2 text layers. Right click and Convert to Smart Object.
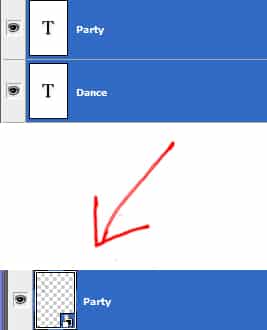
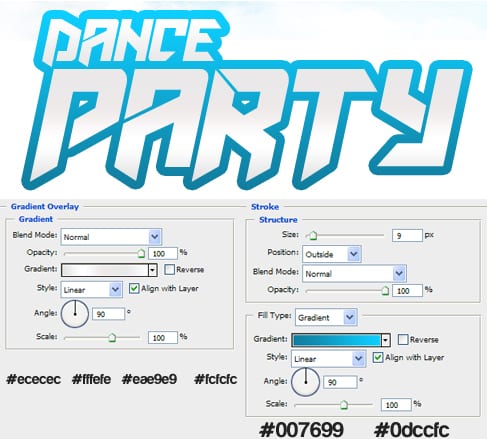
10. Double click the text layer & go into Blending Options, put in the options below:
11. Choose the pink colour below, get the line tool (1px) and draw a line across the poster while holding down the shift key. Duplicate the line. Move the duplicated line down a bit by holding down the ctrl+down arrow key. Hold down shift and select the two lines, with the duplicated line selected move them down like below.
Using the Harabara Font type in the forward slash (/) along the poster using the same pink colour. With the same font write in the date.

12. Next write out the address of the party. Double click on the font to go into Blending Options and put in the options below:
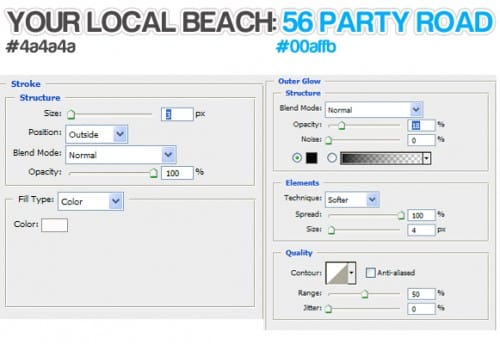 13. Next write out the music type & the music performer in the font Myriad Pro.
![]()

14. Next draw 2 rectangle shapes using the rectangle tool in the colours below. Write out more details in the Harabara font. Get the circle shape tool & draw a small white circle while holding down the shift key. Put some space between the details and duplicate the circle as many times as you need, then place them between the details.

15. Now duplicate the clouds & set the blending mode to Normal. Get the Move Tool (V) and move the clouds to the bottom of the poster. Go to Image > Adjustments > Gradient Map and put in the colours #53bceb & #FFFFFF.
16. Copy and paste this silhouette of people into photoshop. Get the Rectangular Marquee Tool and select the jumping girl. Copy and paste it onto the canvas and make the image smaller using the previous method with used. Get the magic Wand Tool, select the white areas with the tool and press delete.
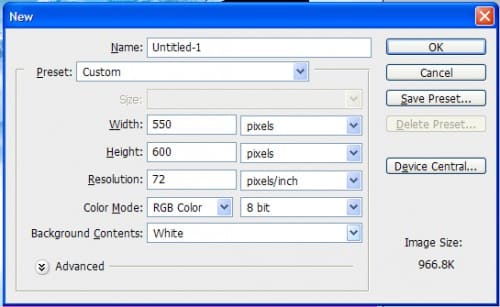
17. Save the poster in jpg format. Create a new document with the settings below:
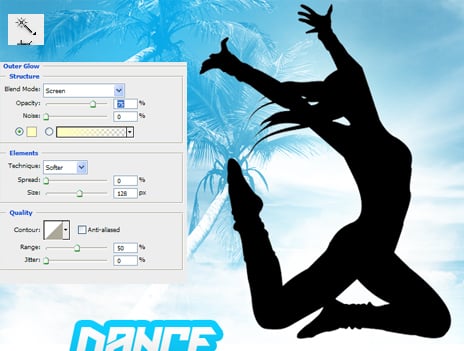
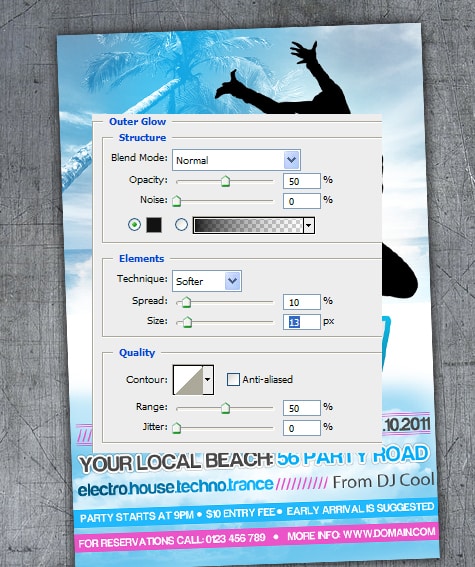
18. Get this Metal Texture, copy and paste it onto the canvas. Open up the jpg format poster & copy and paste it onto the new canvas. Press ctrl+t to make it smaller & turn it sideways slightly. Double click on the poster to go into Blending Options and put in the Outer Glow Settings:
19. Duplicate the poster 2 times making each poster slightly on a different angle.
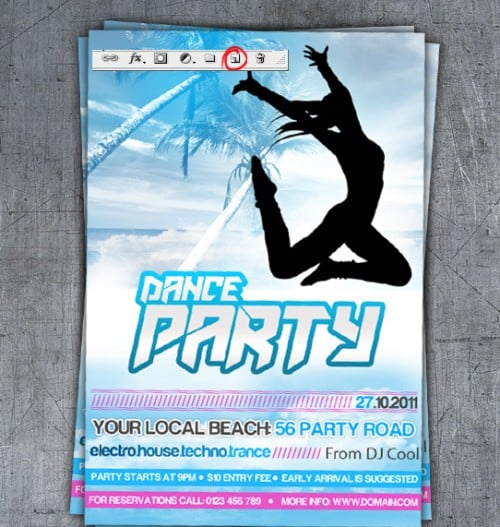
Final Result
