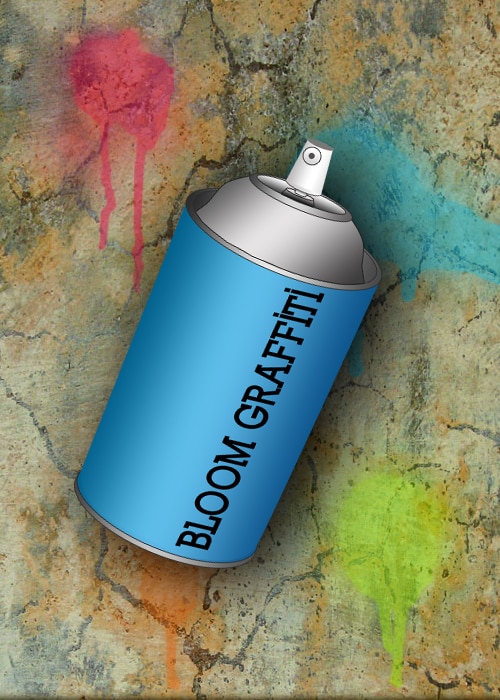
In this tutorial we’ll learn how to design a Graffiti Can in Photoshop.
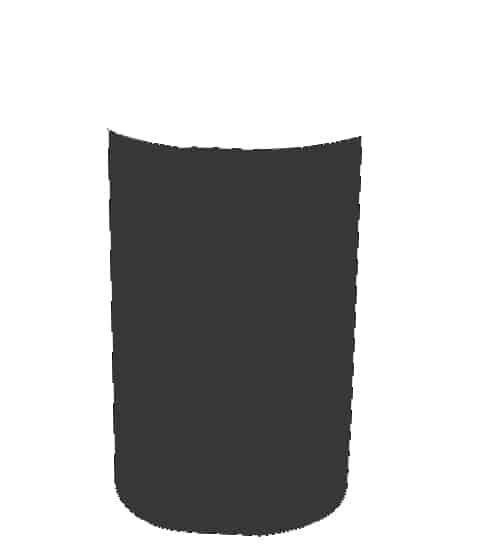 Open up a new document in photoshop. Using the pen tool draw a shape like this for the body. Underneath the shape draw a oval shape using the circle tool for the bottom.
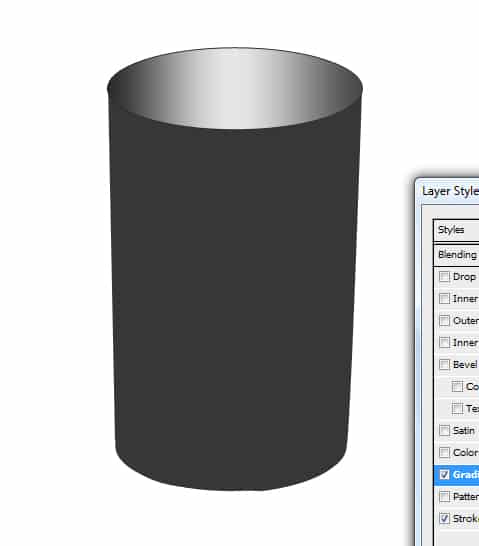 Using the circle tool draw a circle on top of the body. Add a Gradient and thin dark grey stroke color. to the circle.
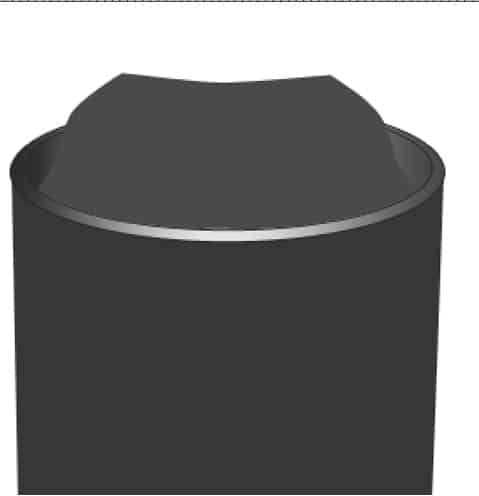 Next zoom in to the top of the body, draw another circle like above using a gradient to create a deep effect on the top of the can. Then using the pen tool create a shape like the one in this picture.
 Next using the circle tool draw 2 shapes on top of the shape you just created.
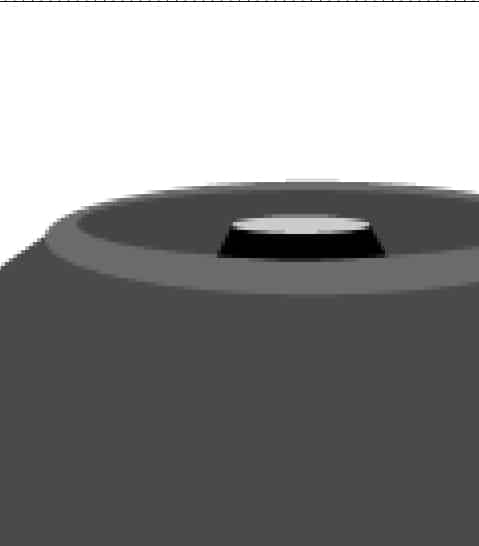 Inside the 2 oval shapes draw a shape with the pen tool like the black shape here. Next grab the circle tool again and draw an oval shape on top of the new shape.
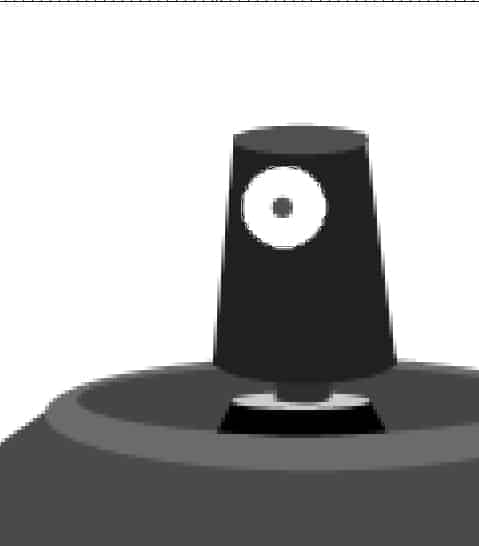 Next create this nozzle shape using the pen tool and circle tool. I’ve made each shape a different shade of grey so it’s easier to identify the parts.
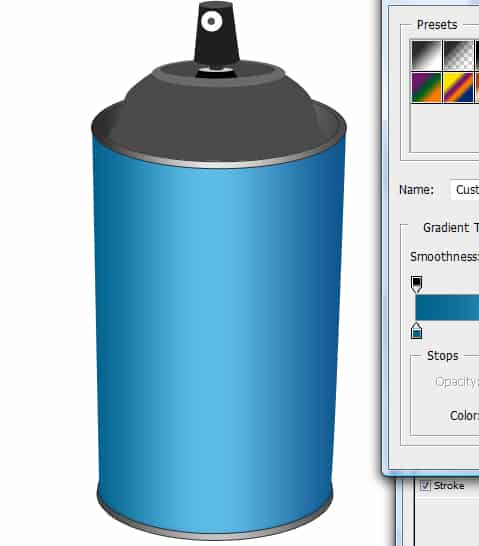
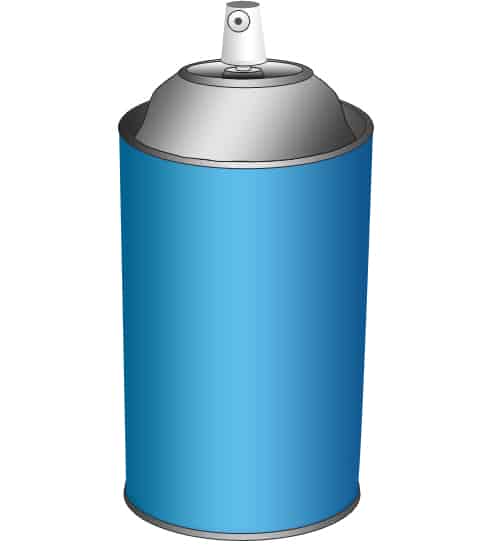 Now the fun begins! Go to each part of the graffiti can, right click and go into Blending Modes and create a gradient color of your choice and a think grey stroke color.
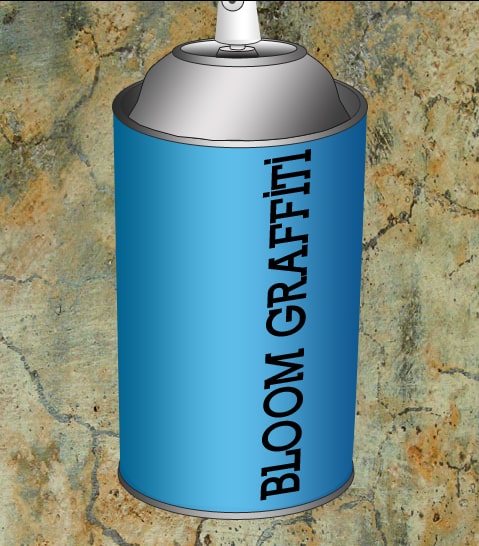 Next write in the name you want for the can. Press ctrl+t , while holding down ctrl press the corner of the edges to make it look wrapped around the can. Get a cracked wall image of your choice and copy and paste it in the background,
 Put all the graffiti can layers and font into one folder and duplicate the folder. Click the eye on the previous can layer so it’s not viewable. Right click the duplicated layer and press Convert to Smart Object. Right click again and to into Blending Options and create a drop shadow effect.
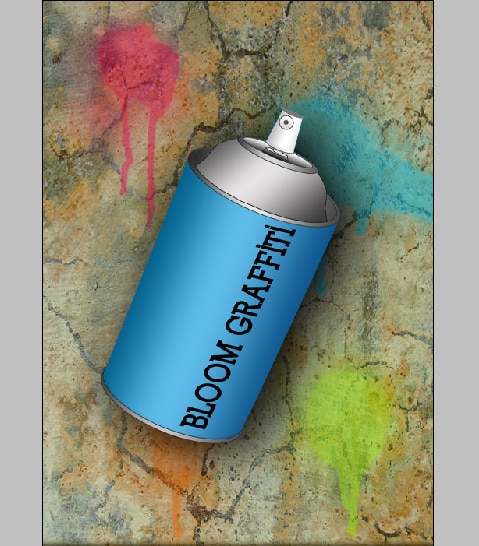 We’re nearly done! Get some paint drop/splatter brushes I’m using these and create some paint splashes in different colors.

