Design a Clean & Colorful Ecommerce Layout in Photoshop
Learn how to create a clean and colorful E-Commerce Layout in Photoshop!
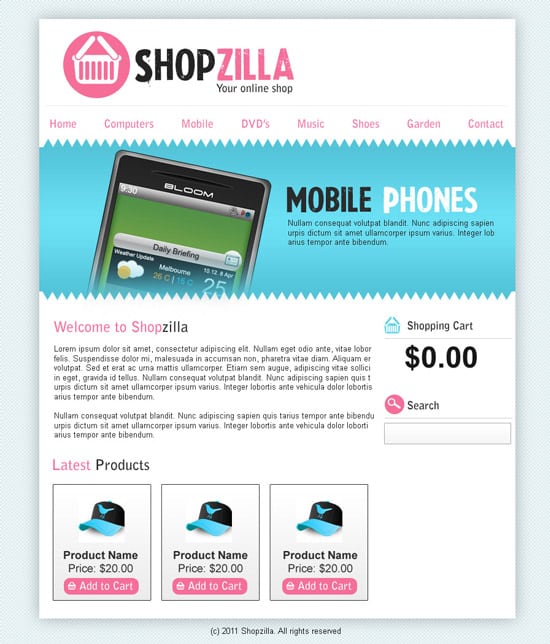
Final Result

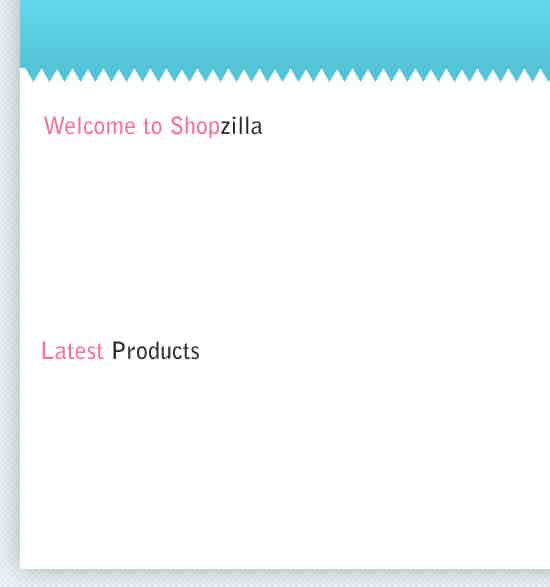
1. Create a new document that’s 900×1050, double click on the background layer to unlock it. Fill the background the colour below. Next go to Filter > Sketch > Halftone Pattern. This will give the background a nice pattern effect,
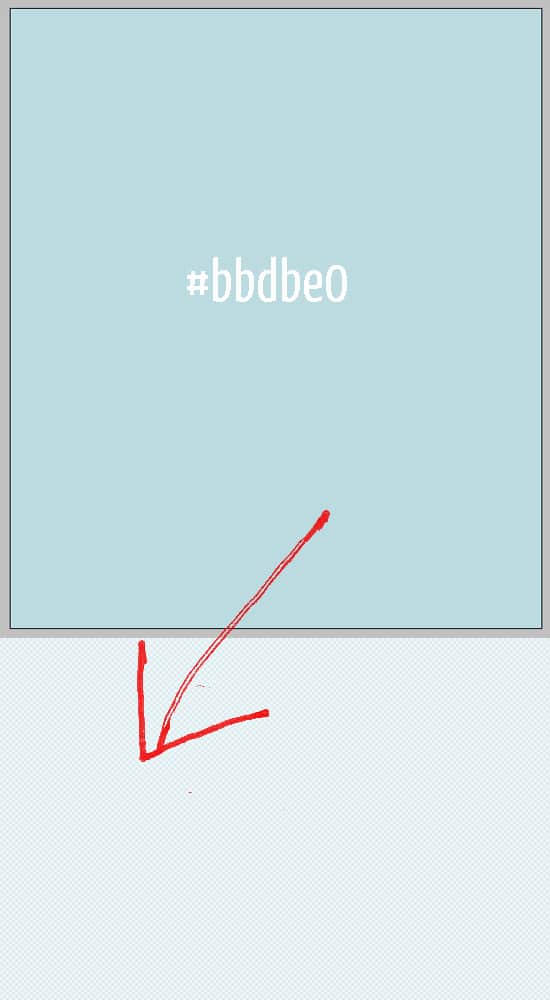
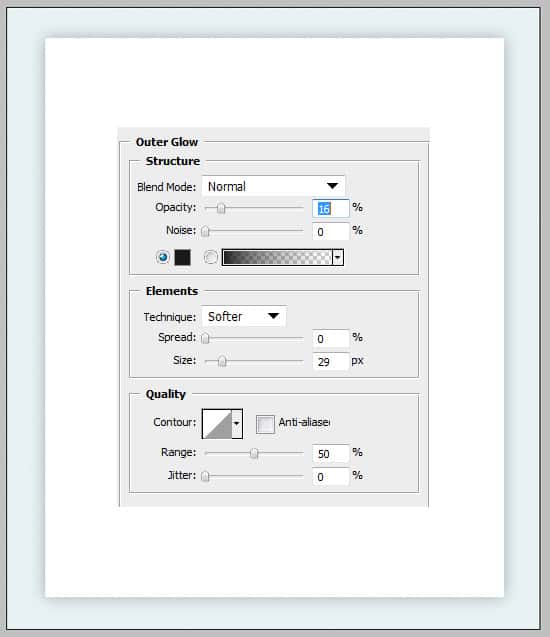
2. Get the rectangle shape tool and draw a white shape for the page. Double click on the layer to go into Blending Options > Outer Glow and put in the options below.
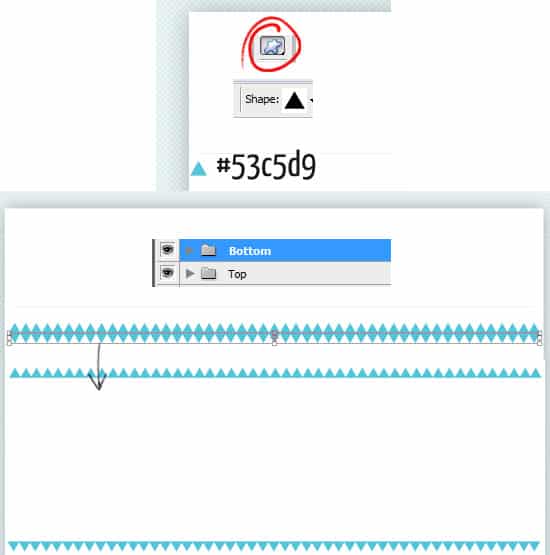
3. Next go into the Custom Shape tool and select the triangle shape. Draw a small triangle while holding down the shift key (to keep the shape perfect). Duplicate the shape dragging it to the new layer icon. To duplicate more then one shape hold down the shift key and click on all the triangle shapes & drag to the new layer icon.
Put all the ‘top’ triangles into a folder (select all of them and drag them to the new folder icon). Duplicate the folder, press ctrl+t to make it transformable and flip down.
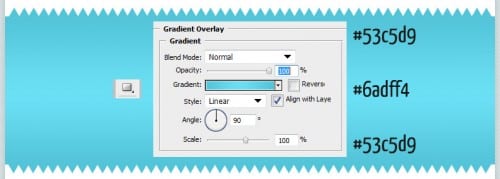
4. Next get the rectangle shape tool and draw a shape from the top to bottom, double click on the layer to go into Blending Options > Gradient Overlay and put in settings below:
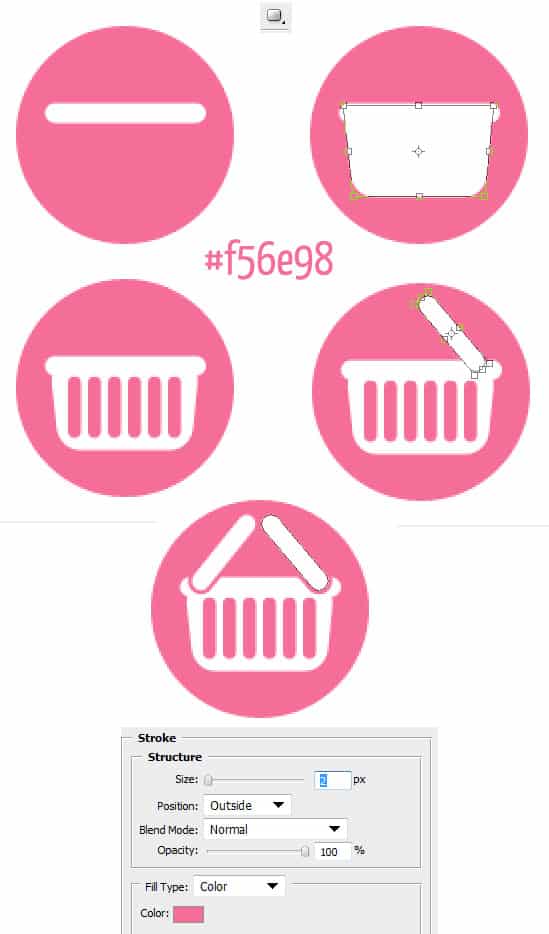
5. Now for the logo, using the ellipse tool, hold down the shift key and draw a circle. Using the rounded rectangle tool draw the top of the cart. Next draw the body, press ctrl+t and drag each bottom corner in slightly by holding down the ctrl key and moving. Next draw the cart slits, then draw the handles and rotate them by press ctrl+t and rotating, on the handle layers double click into Blending Options > Stroke and put in the settings below:
Put all the cart layers into a folder.
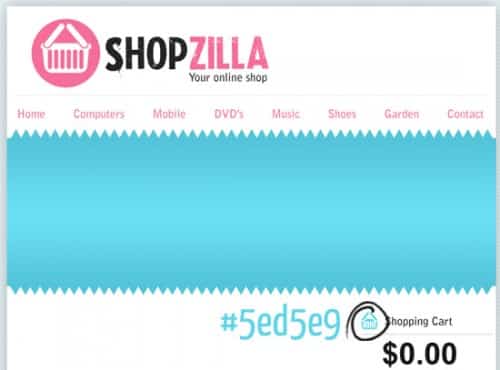
6. I’ve written the store name in La Press Font & write out the slogan and menu in Bell Gothic Std. Using the line tool hold down the shift key and draw a line to separate the the logo and menu in a light grey.

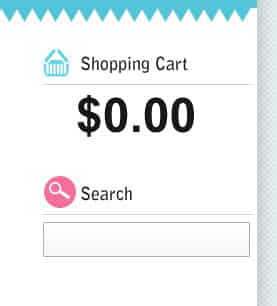
7. Duplicate the cart you created before and change the colours to below. Make the cart smaller by clicking ctrl+t, holding down the shift key while dragging a corner down. Write out shopping cart and a price example (making it larger) in Bell Gothic Std. I’ve put a linr between the shopping cart title and price.
8. Next draw a circle with the ellipse tool, get the magnifying glass shape from the custom shape tool and draw a white shape like below. Using the rectangle shape tool draw the search box, go into Blending Options and put in a light grey stroke and like gradient. Duplicate the previous line you created on the shopping cart and put it between the search title and search box.
9. Next write out some headings in Bell Gothic Std font.
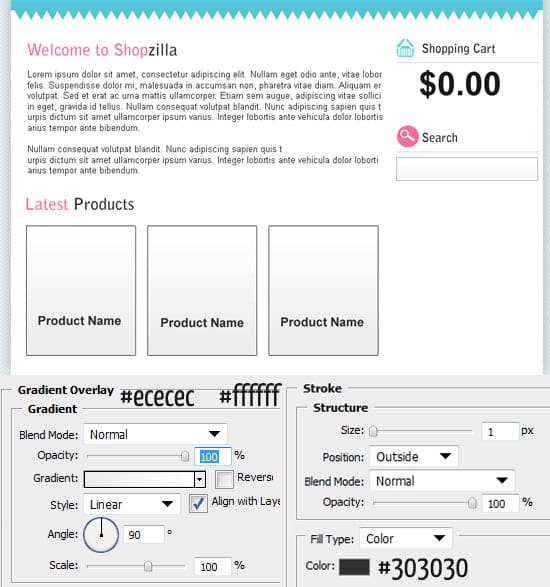
10. Next write out some welcome text . Using the rectangle tool draw a box, double click into Blending Options & put in the settings below. Duplicate the box like below.
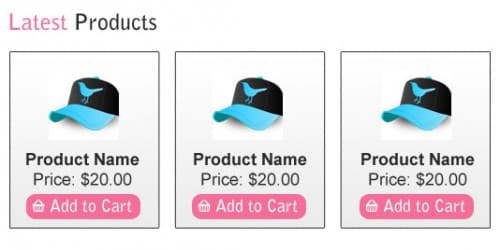
11. Next write out some product info in Arial font, put a product example image & I’ve draw a button using the rounded rectangle tool and used the cart I created earlier as an icon.
12. Next I’ve put a example image on the slideshow and erased the bottom of it with a large soft edged eraser & write out some product example information. Lastly write out some copyright details on the footer.
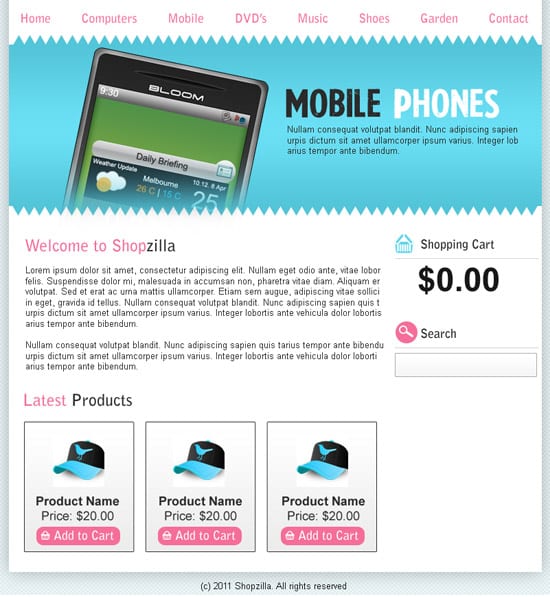
Final Result
