Create an HTML Email Template From Scratch
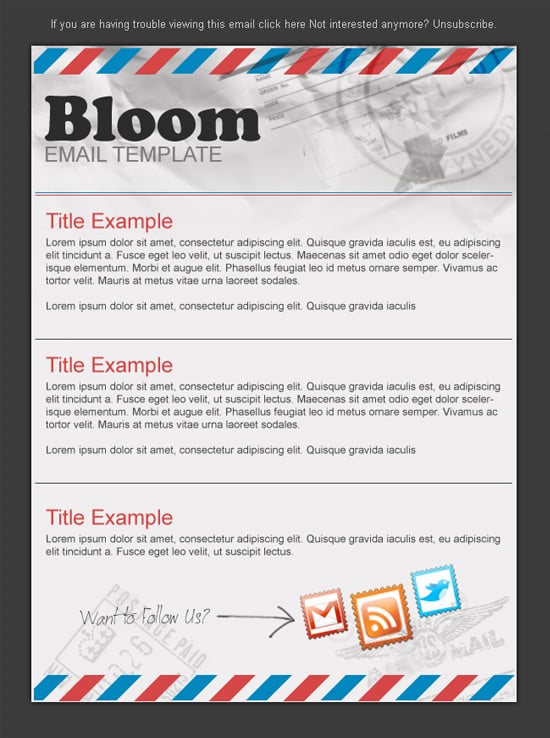
Learn how to slice up a premade Email Template & code into a Email Template/Newsletter in Dreamweaver! For this tutorial we’ll be using this Email Template we designed in a tutorial earlier.
Photoshop
1. Firstly open your email template design, place all the elements into folders (to make it easier). Next remove the eye icon from the content text & background colour is out of view.

2. Next select the Slice tool and select around the Header, Page background, Line Break (make it smaller then the others in width) & footer.

3. Next go to File > Save for Web & Devices (Alt + Shift + Ctrl + S). When the window appears double click on each section using the Slice Select Tool and put in the name, also change each email to a PNG transparency format. You can scroll down/around the design to select the other slices using the Hand Tool. Press save to save the images.

4. The folder you saved in should now have an images folder with the images you just saved. You will need to remove the other images that were saved automatically, remove them until you have the appropriate images for the Email Template.

Dreamweaver
5. Open up dreamweaver and create a new HTML file. This code will automatically come up below. Write in the title of your file in between the <title> tags (just to be neat) and save the document in the folder you created (don’t save it in the images folder).
<!DOCTYPE html PUBLIC "-//W3C//DTD XHTML 1.0 Transitional//EN" "http://www.w3.org/TR/xhtml1/DTD/xhtml1-transitional.dtd">
<html xmlns="http://www.w3.org/1999/xhtml">
<head>
<meta http-equiv="Content-Type" content="text/html; charset=utf-8" />
<title>Email Template Demo</title>

</head>

<body>

</body>
</html>
CSS
6. Firstly we need to type in some css code, because this is an Email Template all the css & html code have to be in one file.

<style type="text/css">


body {
	background-color: #363636;
}

p {
	font-family:Arial, Helvetica, sans-serif;
	font-size:10px;
	color: #363636;
}

H1 {
	font-family: Arial, Helvetica, sans-serif;
	font-size:24px;
	color: #d54646

}


H2 {
	font-family:Arial, Helvetica, sans-serif;
	font-size: 10px;
	color: #d0d0d0;
}

/*LINKS */

a:links {
	color:#999;
}

a:link {
	color: #CCC;
	text-decoration: none;
}
a:visited {
	text-decoration: none;
	color: #CCC;
}
a:hover {
	text-decoration: none;
	color: #CCC;
}
a:active {
	text-decoration: none;
	color: #CCC;
}


</style>
Top Email Details
7. Now for the first HTML code we will put in a Table, Tables are defined with the <table> tag. Tables are divided into Rows by the <tr> tag, and each row is divided into cells by the <td> tag. The TD (Table Data) contains the content. The codes are ended by having a </ sign.

<table width="650" border="0" cellspacing="0" cellpadding="0" align="center">
  <tr>
    <td>

    <h2 align="center">If you are having trouble viewing this email <a href="#">click here</a> Not interested anymore? <a href="#">Unsubscribe</a></h2>

    </td>
  </tr>
</table>
Header
8. Next we will create the header using another table tag, please note with the images you’ll need to find an image host (or your own website) to place the images on and then change the image links to the url link.

<table width="600" border="0" cellspacing="0" cellpadding="0" align="center">
  <tr>
    <td>

    <table width="650" border="0" cellspacing="0" cellpadding="0">
  <tr>
    <td>

    <img src="images/Header.png" width="650" height="264" />

    </td>
  </tr>
</table>
Page Background & Content
9. Next we code up the body and content of the Email Template. I’ve create a table for the Background Image which will be repeated vertically down the page, inside that tag I’ve placed the content. Look below for more details:

 <table width="650" border="0" cellspacing="0" cellpadding="0" style="background: url(images/design_03.png); background-repeat:repeat-y">
  <tr>
    <td>

    <table width="400" border="0" cellspacing="0" cellpadding="0" align="center">
  <tr>
    <td>


    <h1>Post Title</h1>
    <p>Lorem ipsum dolor sit amet, consectetur adipiscing elit. Quisque gravida iaculis est, eu adipiscing elit tincidunt a. Fusce eget leo velit, ut suscipit lectus. Maecenas sit amet odio eget dolor scelerisque elementum. Morbi et augue elit. Phasellus feugiat leo id metus ornare semper. Vivamus ac tortor velit. Mauris at metus vitae urna laoreet sodales.</p>

<p>Lorem ipsum dolor sit amet, consectetur adipiscing elit. Quisque gravida iaculis</p>

   <img src="images/Line.jpg" width="500" height="24" />

    <h1>Post Title</h1>
    <p>Lorem ipsum dolor sit amet, consectetur adipiscing elit. Quisque gravida iaculis est, eu adipiscing elit tincidunt a. Fusce eget leo velit, ut suscipit lectus. Maecenas sit amet odio eget dolor scelerisque elementum. Morbi et augue elit. Phasellus feugiat leo id metus ornare semper. Vivamus ac tortor velit. Mauris at metus vitae urna laoreet sodales.</p>

<p>Lorem ipsum dolor sit amet, consectetur adipiscing elit. Quisque gravida iaculis</p>

    <img src="images/Line.jpg" width="500" height="24" />


    </td>
  </tr>
</table>


    </td>
  </tr>
</table>
Footer
10. Next we will create the footer, follow the code annotations below:

<table width="650" border="0" cellspacing="0" cellpadding="0">
  <tr>
    <td>

      <img src="images/Footer.png" width="650" height="201" border="0" usemap="#Map" /></td>
  </tr>
</table>

    </td>
  </tr>
</table>


/* these are the Hotspot coordinates */
<map name="Map" id="Map">
  <area shape="rect" coords="352,53,412,118" href="#" />
  <area shape="rect" coords="421,55,484,124" href="#" />
  <area shape="rect" coords="489,31,544,86" href="#" />
</map>

</body>
</html>
How to Create a HotSpot in Dreamweaver
1. Go into the Design View in Dreamweaver, and click on the image to select it. In the properties panel you’ll see some shapes under Map. Click on the shape you want and draw on the part of the image you want to have a link. After you’ve drawn the hotspots, click on each hotspot and write the link in the Properties Panel.

How to Send it as an Email Template
Because all emails will be different, these instructions are very basic. It may be different with your email provider. Remember to first upload your images onto your website or a website like http://imageshack.us/ and change the image links in the code.
1. Log in to your emails.
2. Choose the option where you can edit the email in HTML format.
3. Copy & Paste the Email Template code, Edit and Send!


