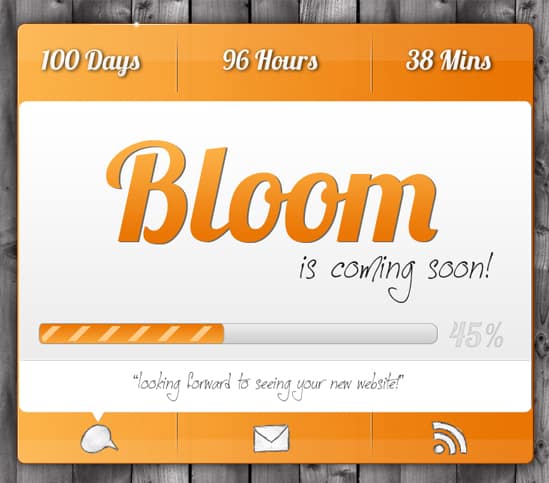
Design a Glossy Coming Soon Box/Layout in Photoshop
Learn how to create a glossy & sleek coming soon box Layout in Photoshop!
Final Result

1. Create a new document that’s 1020×830 pixels. Download these Tileable Wood Pattern Textures and install them. Go to your background layer, double click to unlock, then double click again to go into Blending Options > Pattern Overlay and choose what wood pattern you want.
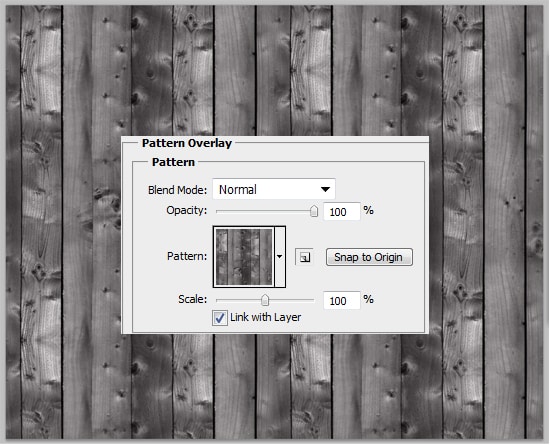
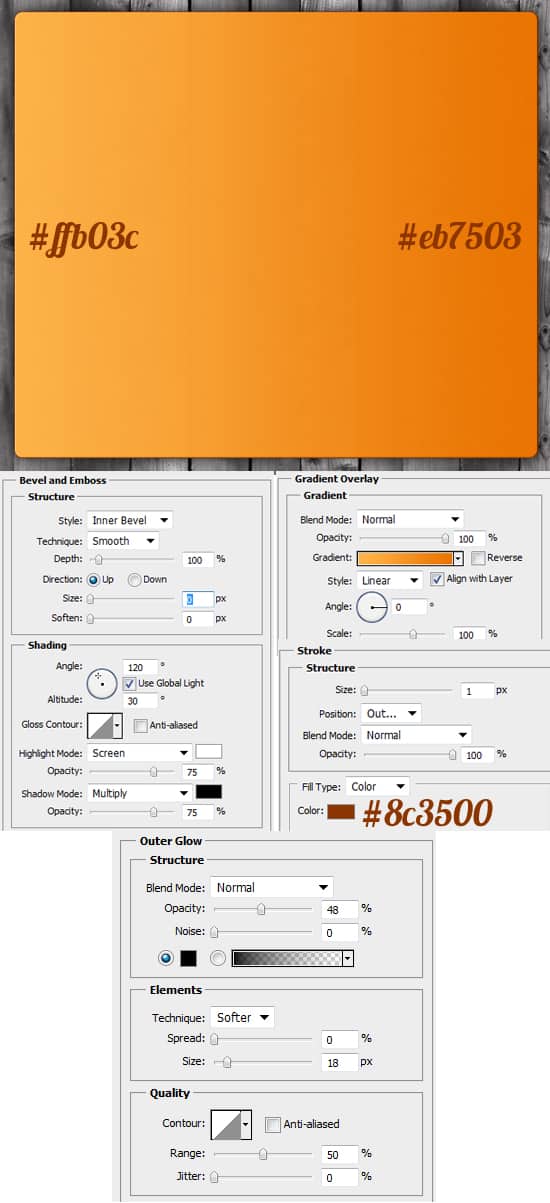
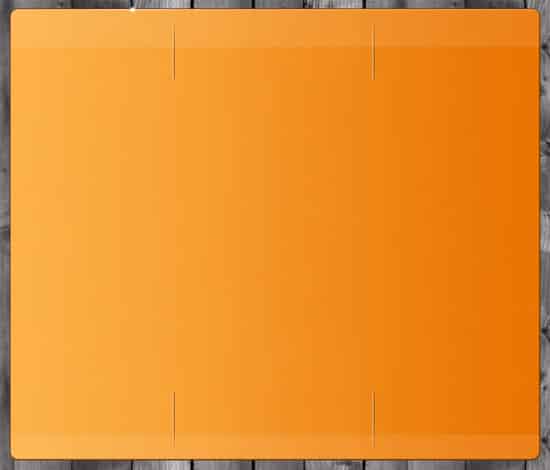
2. Using the Rounded Rectangle tool draw the box below, double click into Blending Options and put in the following settings:
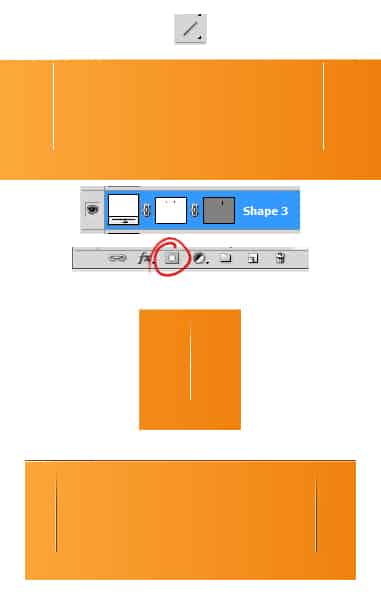
3. Using the line tool (1px) draw a white vertical line while holding down the shift key (to keep the shape perfect). Go to the layer and click on the Add Layer Mask icon, then get a soft edged eraser tool and erase the top part of the line so it fades it.
Duplicate the line 3 times and arrange it like below. You’ll need to change the colour of 2 lines and move them (shift (for long moves) or ctrl (for small moves) + arrow key) change the colour to #6a3903 to create a 3D effect.
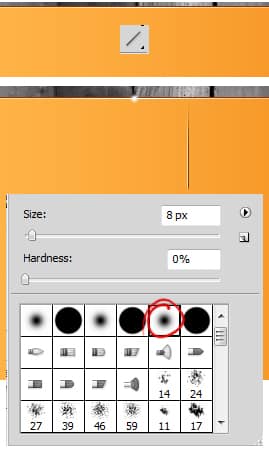
4. Next draw another 1px, white line on top of the box (while holding down the shift key). Create a new layer. then get a brush with the presets below and draw a white dot for a nice sparkle effect.
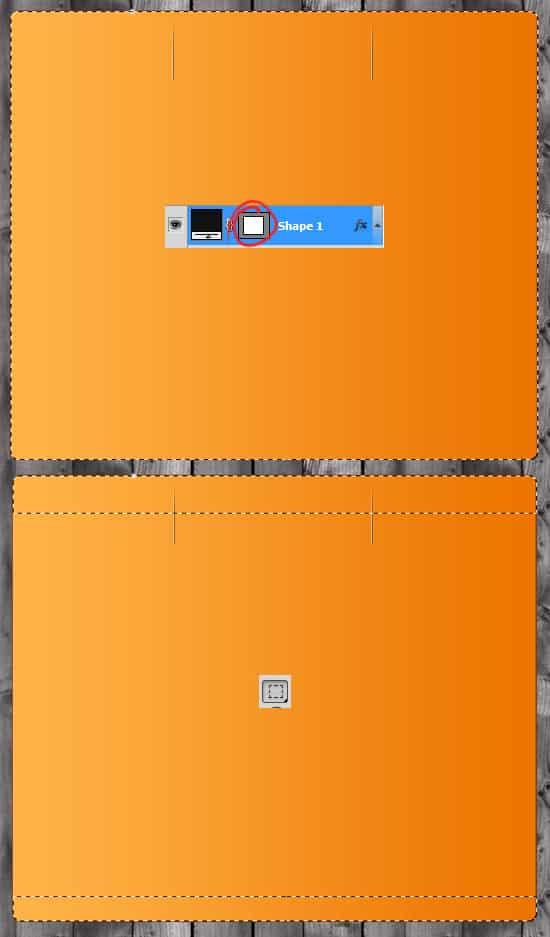
5. Hold down the ctrl key and click on the rectangle shape’s layer thumbnail to highlight the shape. Choose the Rectangular Marquee Tool, hold down the alt key and remove the middle section of the highlighted shape.
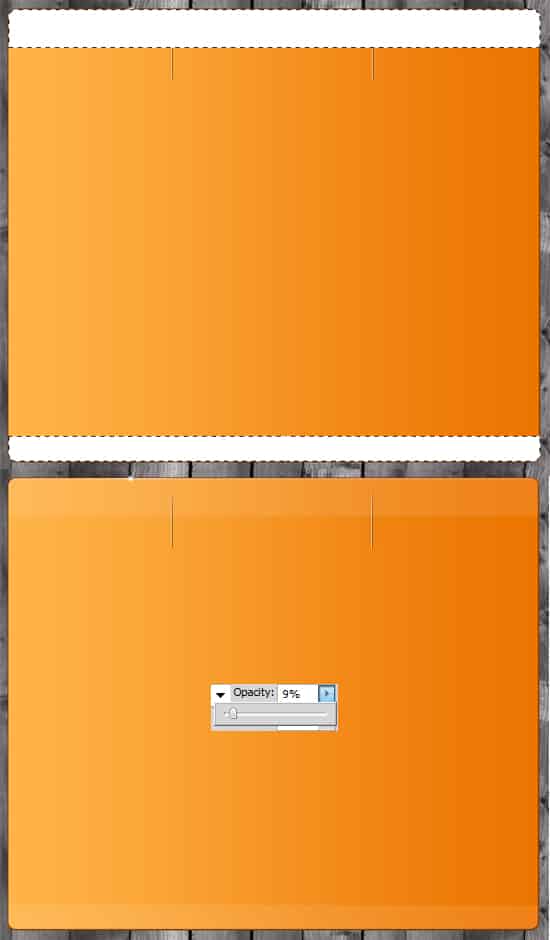
6. Create a new layer and fill in the highlighted shape white & set the opacity to 9%.
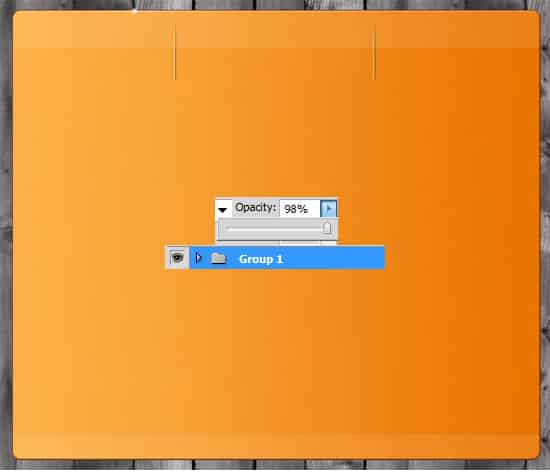
7. Hold down the shift or ctrl key and select all of the box layers & drag them to the new folder icon to put them into a folder. Set the opacity to 98%.
8. Select the 2 lines and duplicate them. Select all of the duplicated lines and press ctrl+t to flip over and move to the bottom of the box.
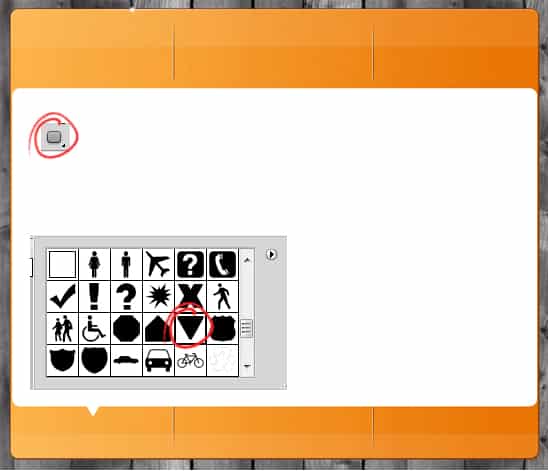
9. Using the rounded rectangle tool draw a white box like below, then go into Custom Shape Tool and choose the upside down triangle. Hold down the shift key and draw a small white triangle like below.
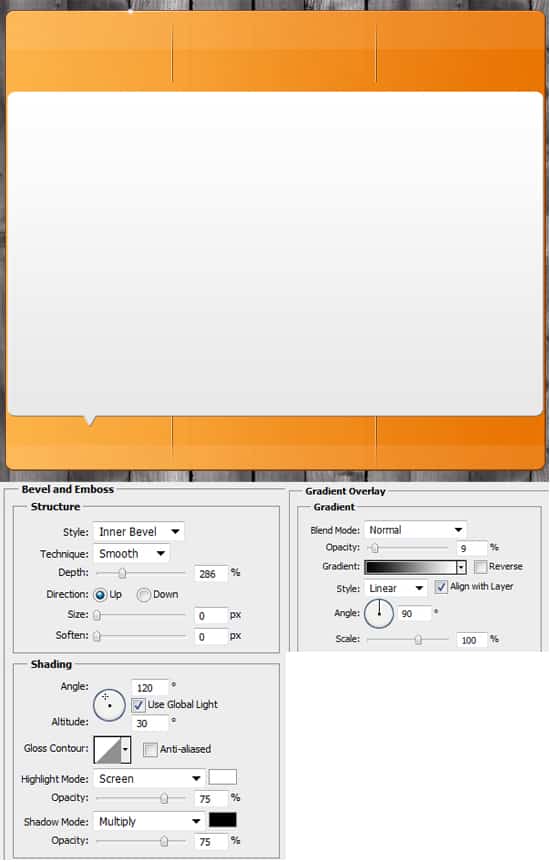
10. While holding down the ctrl key select for 2 white shapes to just created, right click and Convert to Smart Object (this will turn them into 1 shape). Double click to go into Blending Options and put in the following settings:
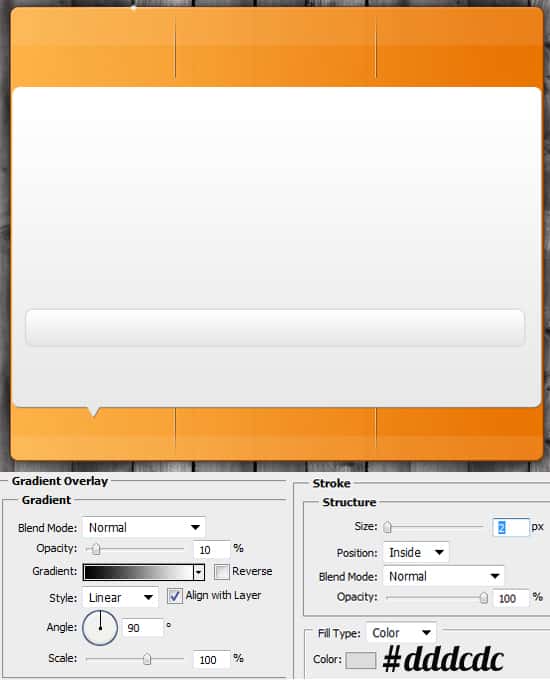
11. Using the rounded rectangle tool draw a shape like below. Double click into Blending Options and put in the following settings:
12. Draw another shape using the rounded rectangle tool like below and put in the following settings in Blending Options:
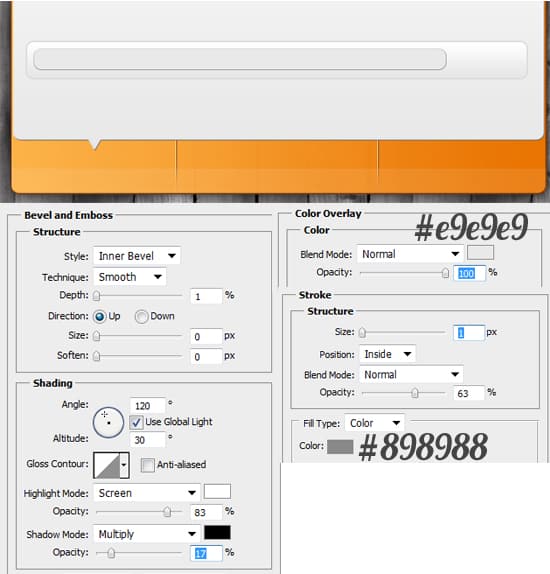
13. Duplicate the recent shape by dragging it to the new layer tool. Press ctrl+t to make it transformable and make the shape shorter. Go into Blending Options > Gradient Overlay and change the gradient to the same as the box.
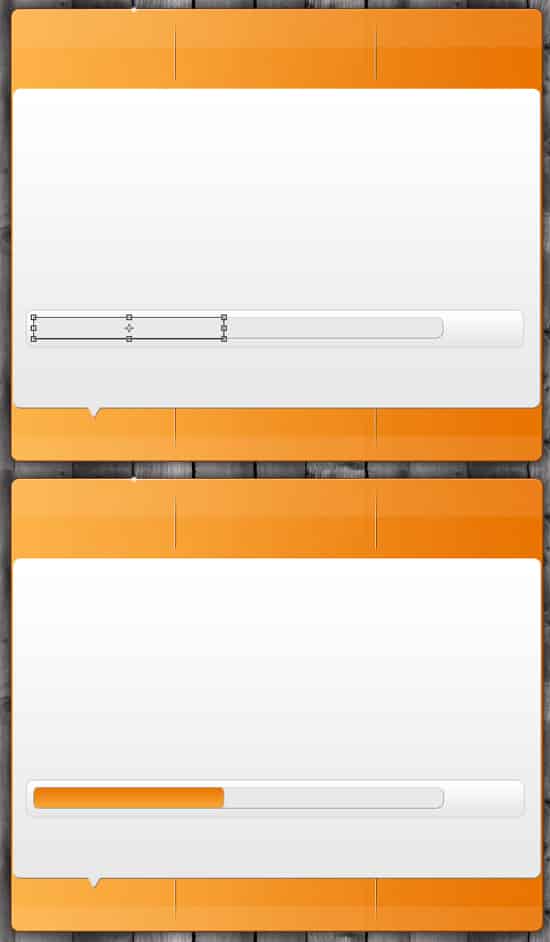
14. Next choose the shape below from Custom Shapes Tool and draw the shape like below (holding down the shift key). Next go to the coloured bar layer, hold down the ctrl key and click on the layer thumbnails to highlight the shape. next go to Select > Modify > Contract and contract the shape by 4px.
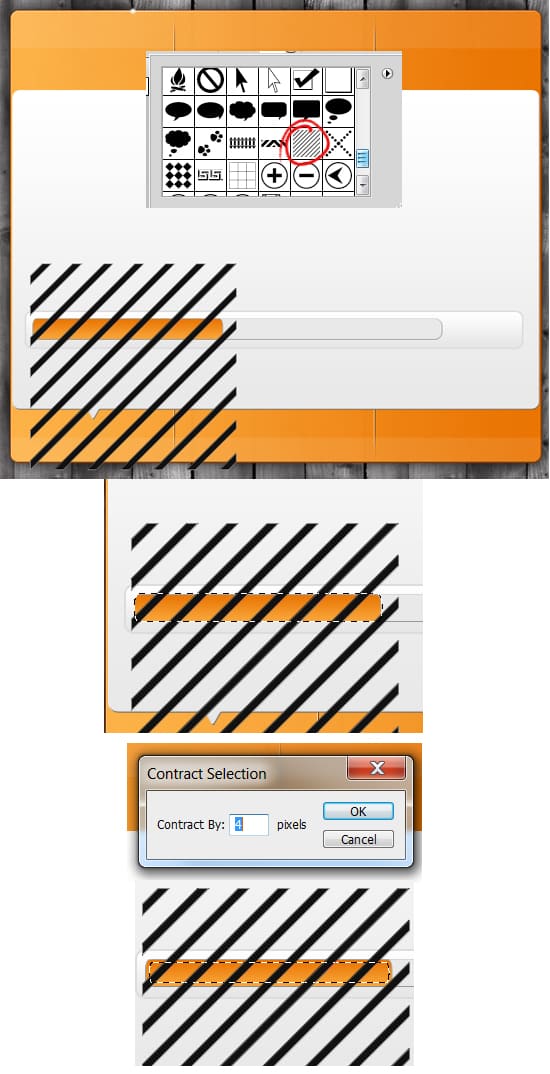
15. With the shape still highlighted go to the stripes layer and click on Add Layer Mask Icon. This will crop the stripes down to the highlighted shape. Double click on the layer to go into Blending Options > Color Overlay and change the colour to below.
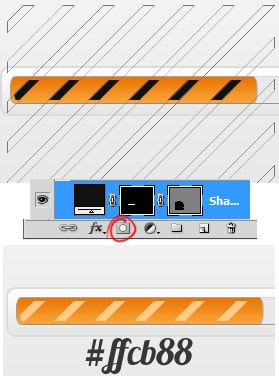
16. Next go to the main white shape layer, press ctrl & click on the layer thumbnail to highlight the shape. Get the Rectangular Marquee Tool and draw over the top half of the shape while holding down the alt key to remove it. Create a new layer and fill the remaining highlighted shape white.
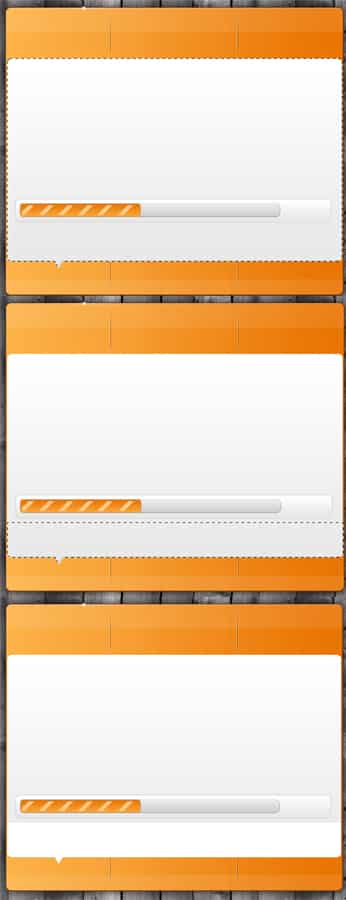
17. Next get the line tool & draw a line across the white part you just created (remember to hold down that shift key) using the colour below.
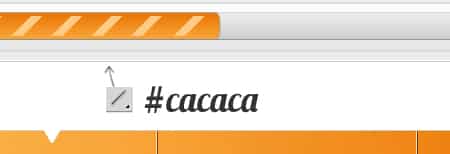
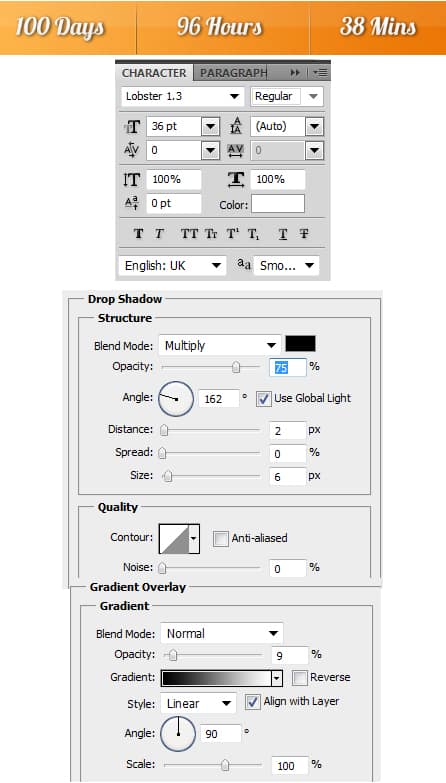
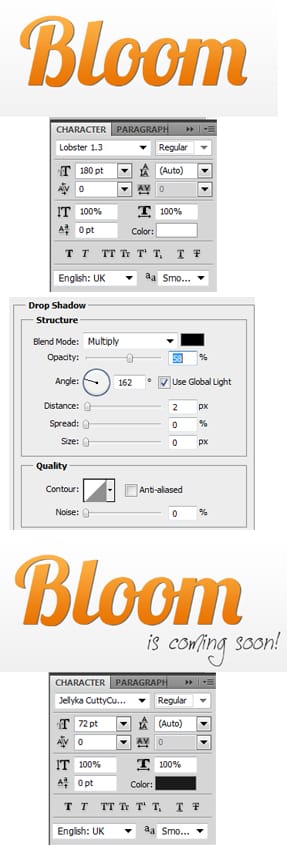
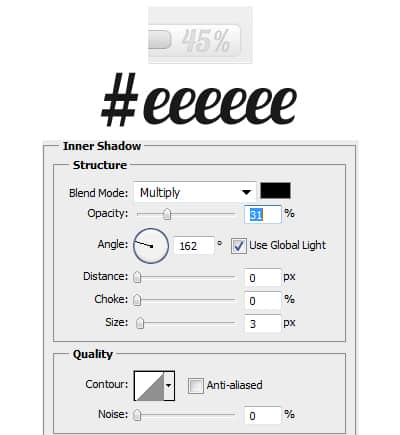
18. Using the font Lobster & Jellyka CuttyCupcakes write out an example of the text on the box, then go into Blending Options and put in the following settings:
Time Remaining
Business Name & Slogan
Percentage
19. Lastly I’ve place some icons from these Hand Drawn Icons and placed them on the bottom.
Final Result
