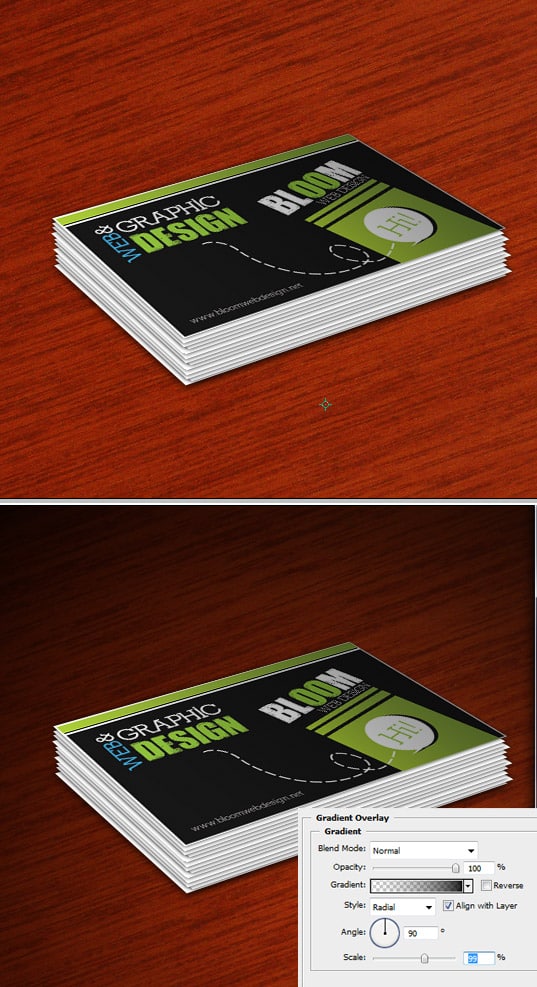
Design a Cool Print Ready Business Card in Illustrator & Photoshop
Learn how to design a cool business card that’s print ready in Illustrator & Photoshop!
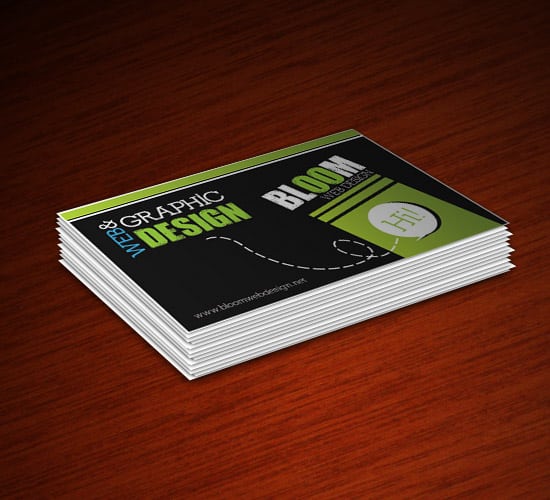
Final Result
Illustrator
1. Open up Illustrator & create new custom document with the settings below, CMYK is the Colour Mode for printing.  2. Press ctrl+r to bring up the rulers, drag 2 horizontal & 2 vertical lines out to the black outline of the canvas.
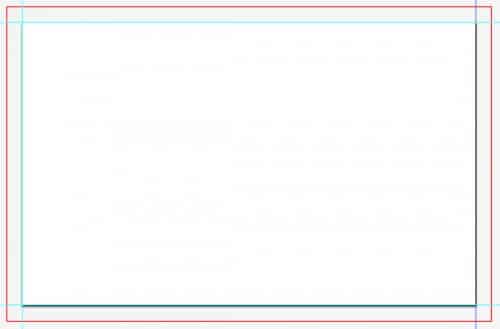
3. Holding down the shift key click on the left vertical lines & top horizontal line & click enter to bring up the move box. Put in 5 mm x 5mm.
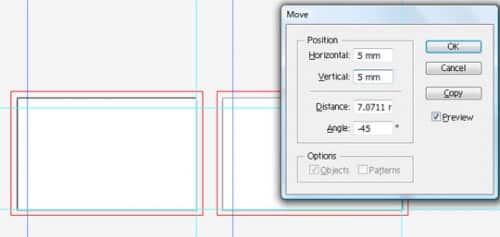
4. Again holding down the shift key click on the horizontal bottom line & vertical right lines & click enter. Put in -5 mm x -5mm.
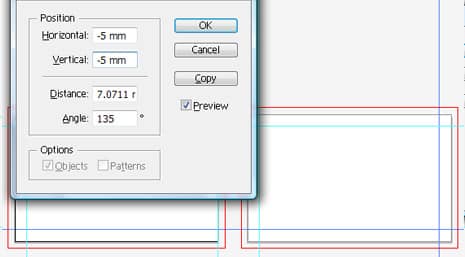
5. These are lines to help understand where to place you’re business card design. The red line indicates the Bleed Area, the blue lines we just created is the cutting risk area, we will be doing the business card design in the safe area.
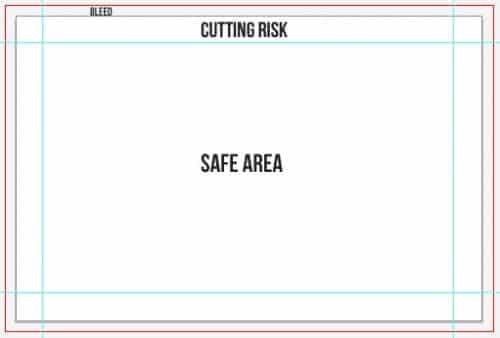
6. Grab the rectangle tool and draw a shape like below.
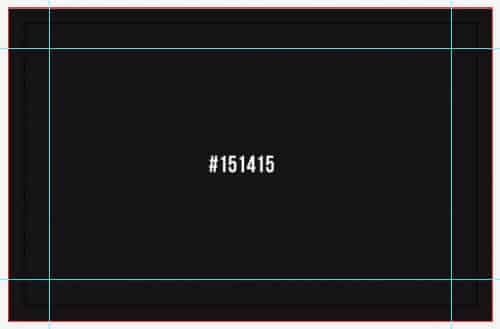
7. We will now be doing the following design in the Safe Area. Draw another small rectangle like the one below, get the selection tool and rotate the shape. Get the rectangle tool again and draw a white shape across the bottom, select the white & green shape & click the Minus Front icon on the Pathfinder window. This will remove bottom part of the green shape.
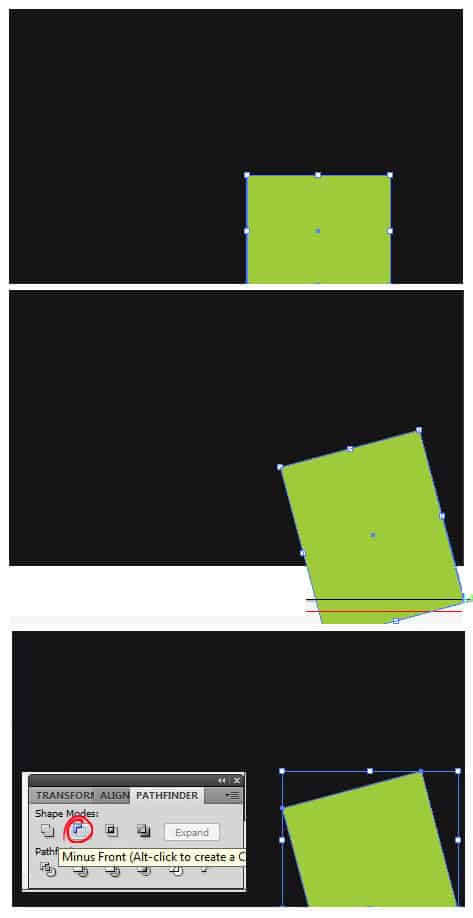
8. Click on the green shape and make it a green gradient using the colours below.
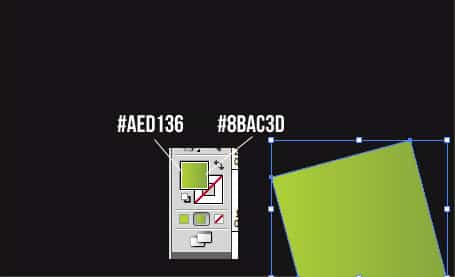
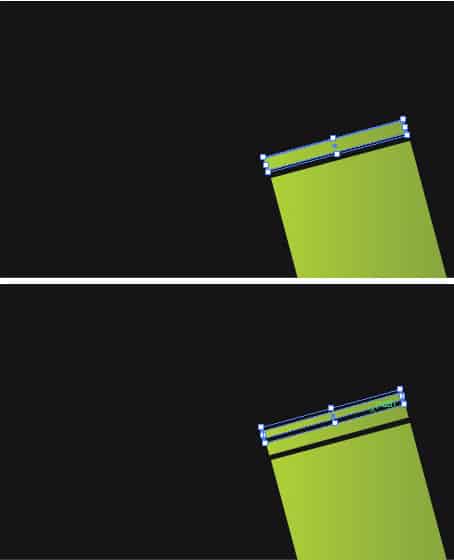
9. Get the rectangle tool again and draw 2 thinner shapes like below. Rotate them like below.
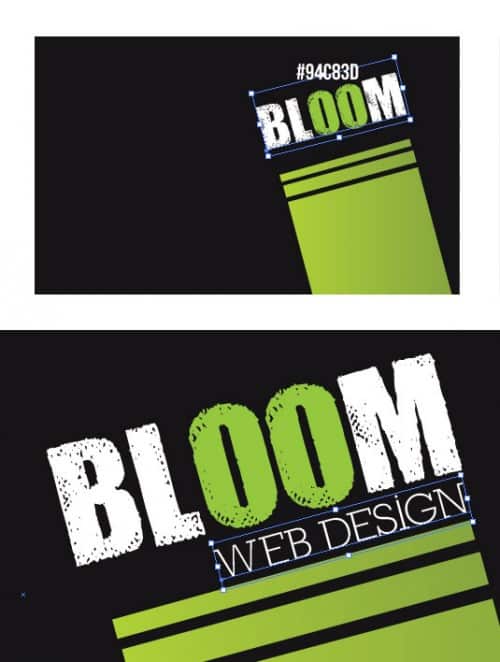
10. Using the font DirtyBag & Nilland type in the company name in white.
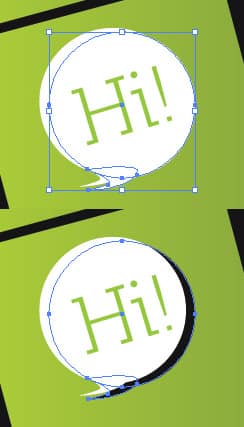
11. Get the Ellipse tool, hold down shift and draw a white circle. Next get the pen tool and draw the bottom of the comment box. Get the Nilland font again, write in ‘Hi’ and rotate the font by going to the Selection tool. 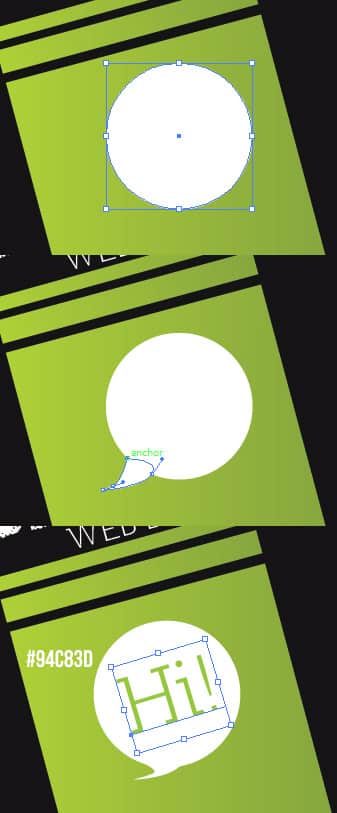 12. Hold down the shift key and select the round circle and pen shape, hold down the alt key and move the shape left to duplicate it. On the bottom layer select the comment box and make the colour black.
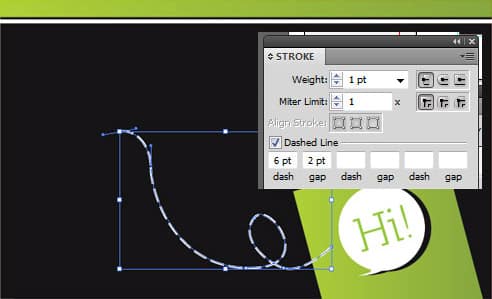
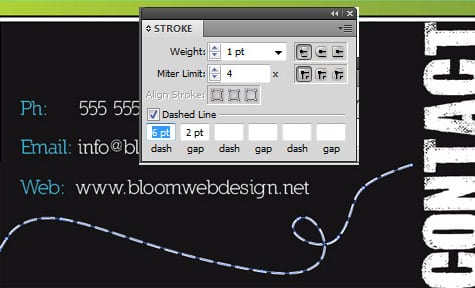
  13. On the top of the business card create 2 rectangles using the Rectangle tool, to get the top shape to be the same gradient green, have the shape selected, go to the eye dropper tool and click on the green gradient on the tilted box. With the pen tool on a fill colour of none and a stroke colour of white, create a squiggly line, go into the stroke window and put in the settings below:
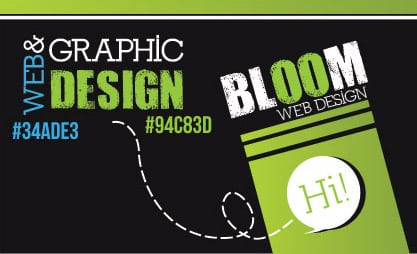
14. Using the same fonts as the heading write out what the company does in different sizes, I’ve rotated the text by going clicking on the selection tool and rotating.
15. Now hold down the shift key & select the background shapes, hold down the alt key and drag the layers away to duplicate them. Move them to the 2nd canvas.
16. Write Contact in the font we used earlier & rotate it like below.

17. Next using the same font we used earlier write out the contact details.
18. With the method we used before draw a striped swirly line with the pen tool
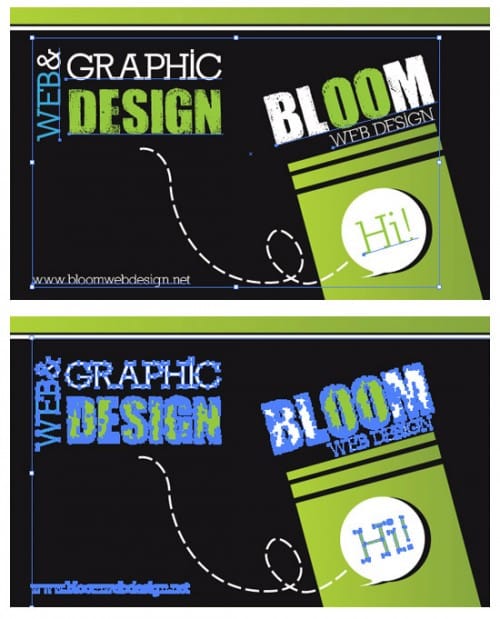
19. Now hold down the shift key and select all of the text, press ctrl+shift+O, this will convert the text to outlines.
20. Go to File > Save As and save as in PDF format. A box will come up when saving in PDF format, put in these settings:
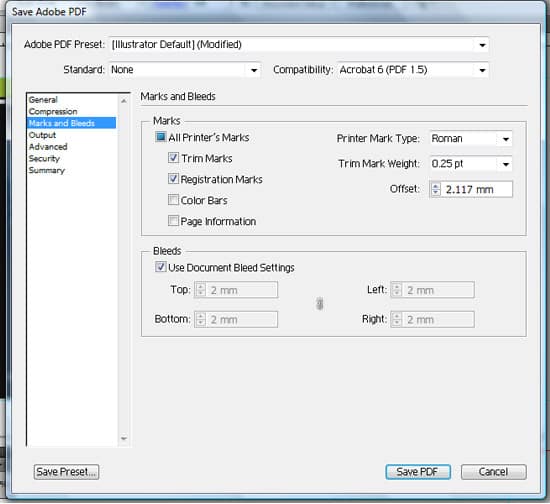
21. Doing this will bring up these guide lines for the printers. Your business card is now ready to be printed!
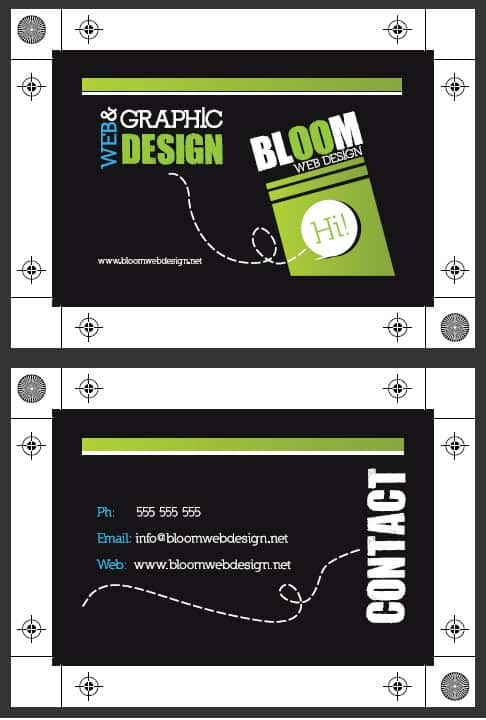
Photoshop
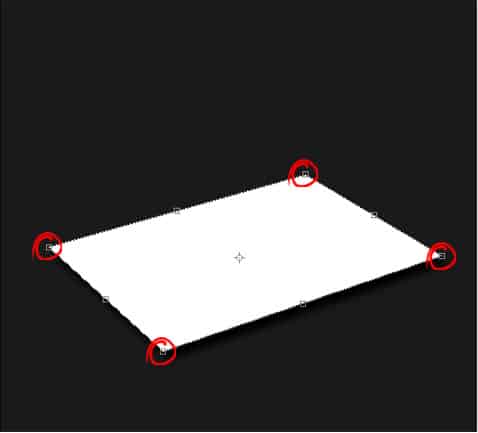
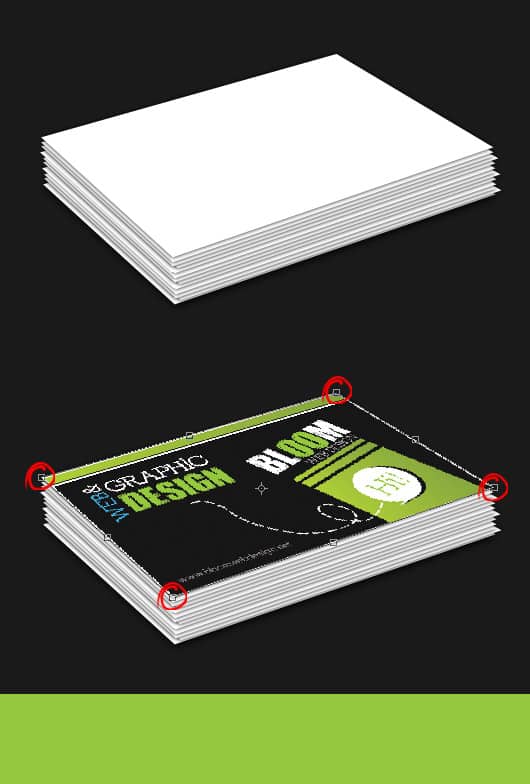
If you would like to show your business card digitally to a client or to have it presented nicely in your Portfolio do the following steps. 1. Create a new document that’s 550×500 pixels. Draw a rectangle square in white, right click into Blending Options > Drop Shadow and put in the settings below: 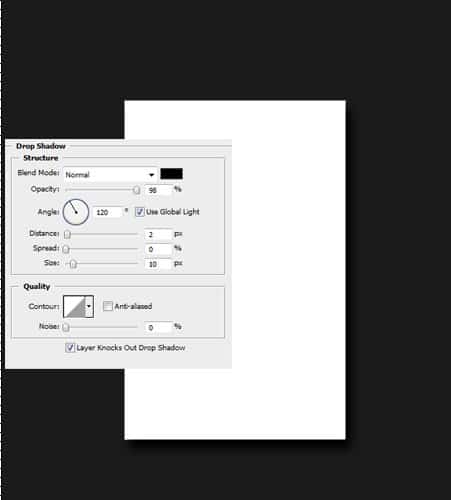 2. Press ctrl+t to mae the shape transformable, holding don the alt key pull on the corners to make it look like below.
  3. Duplicate the layer, hold down ctrl and click on the up arrow to move the duplicated shape slightly up. Go into Blending Options > Drop shadow and change the settings to below:
 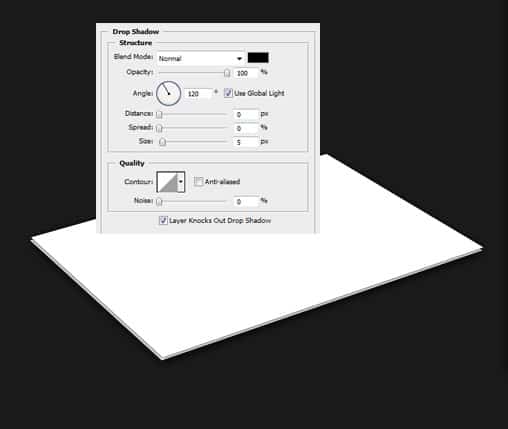 4. Duplicate that layer many times moving each layer slightly up. Open up the business card illustrator file into Photoshop, copy and paste the front of the card onto the canvas. Press ctrl+t, hold down shift and pull one of the top corners down to make it smaller. With the card still selected, hold down the alt key and move the corners of the business card to the corners of the top white rectangle.
  5. Next get a wooden texture from here, copy and paste it onto the canvas. Press ctrl+t to shrink the wooden texture slightly and rotate the wood so the grain is going in the direction of the business card. Right click the layer and go into Blending Options > Gradient Overlay and put in the settings below: