Learn how to create a cartoon stack of 80’s tapes in Illustrator & Photoshop!
Final Result

Illustrator
1. Create a new document that’s 500x500px. Using the rounded rectangle tool draw a rectangle, set the fill colour to none, and the stroke colour to black & 5pt.
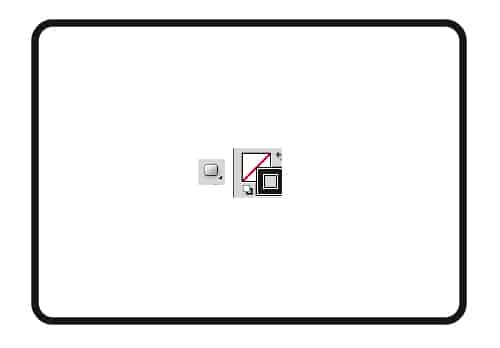
2. Create another shape using the same tool but with a stroke width of 3pt.
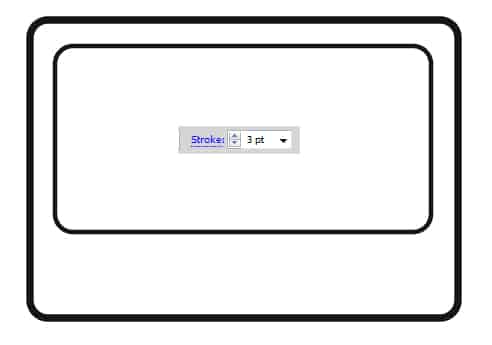
3. Again using the same shape draw another rectangle, but with a fill colour of black & a stroke colour on none. Next get the Ellipse Tool, hold down the shift key a draw a circle, set the fill colour to none, and the stroke colour to white with 10pt. To duplicate the shape select the circle, hold down the alt key and drag the shape out.
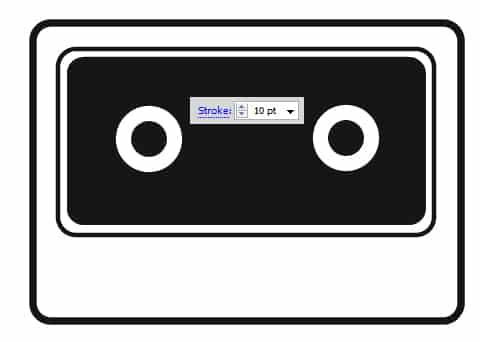
4. Next using the pen tool draw a ridge on the tape (see below) with the fill colour set to black & stroke colour set to none. Next draw a small black circle & using the method we used earlier duplicate it like below.

5. Next press ctrl+a to highlight all of the tape, hold down the alt key and drag out 3 more tapes. Select the main tape shape and set the fill colours to below (or whatever you want!). Save the document.

Photoshop
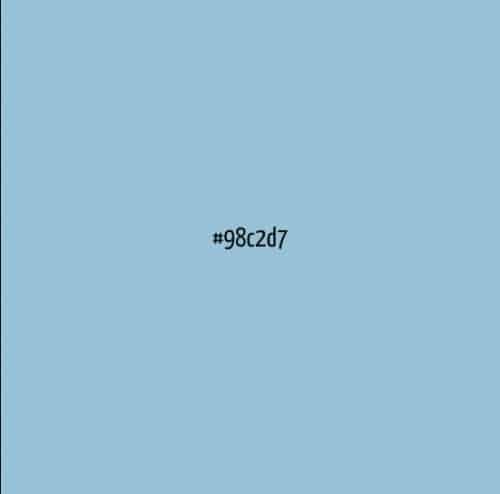
6. Next in Photoshop create a new document that’s 550x550px. Fill the background to the colour below:
7. Open up the illustrator document you just created, using the rectangular marquee tool select each tape then ctrl+c (to copy). Go to your previous canvas and press ctrl+v (to paste). Do this for each tape. Next holding down the shift key, select all the tape layers & press ctrl+t and holding down the shift key again drag a corner down to scale down the size of the tapes.
Next spread the tapes out and duplicate the tape layers. As you duplicate the tapes rotate the, by pressing ctrl+t and rotating the corners. Spread out the tapes as you duplicate so it looks messy.
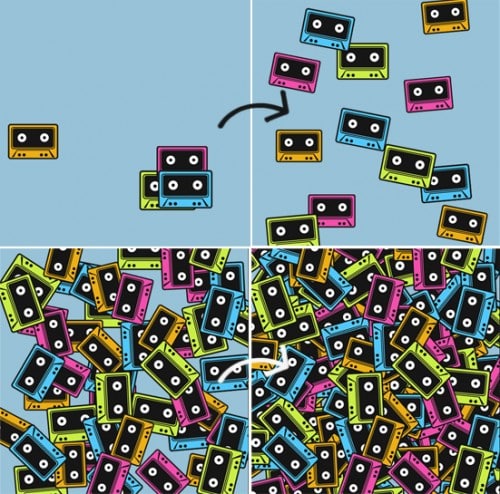
8. Once you have a stack of tapes hold down the shift key and select all the bottom layers, drag them to the folder icon & name the folder bottom. Do this process for the middle & top layers.
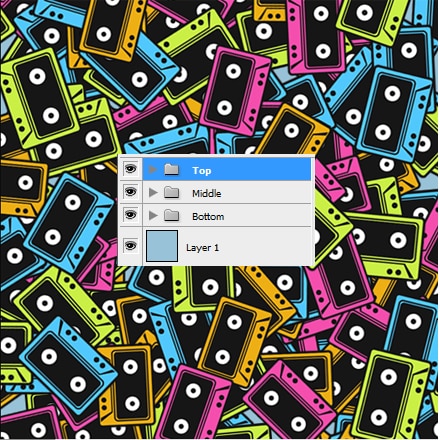
9. Next open up the bottom folder, create a new layer and fill it black. Set the opacity t 51%. This will give the design nice depth.
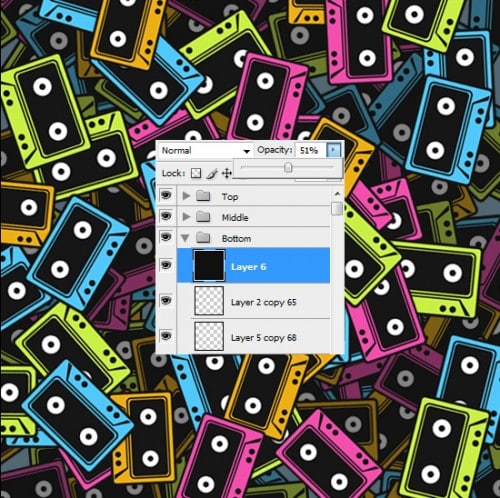
10. Next do the same step to the middle folder but set the opacity to 20%.
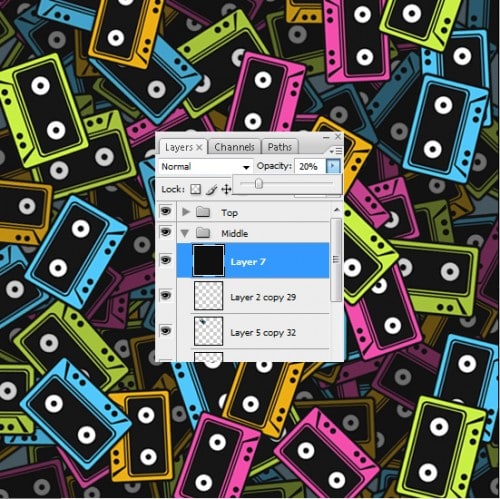
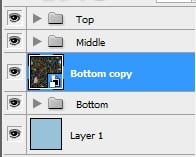
11. Duplicate the Bottom layer by dragging it to the new layer icon, right click the duplicated folder & Convert to Smart Object.
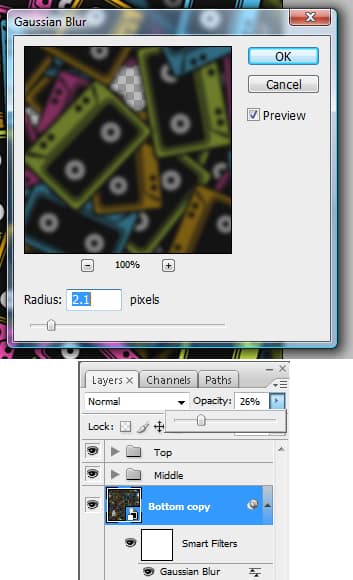
12. Now go to Filter > Blur > Gassian Blur and make it below. Then set the opacity to 26% on the layer.
13. Lastly create a new layer and place it on top of everything, fill the layer white & set the blending mode to Multiply. Double click into Blending Options > Inner Shadow & put in the settings below:
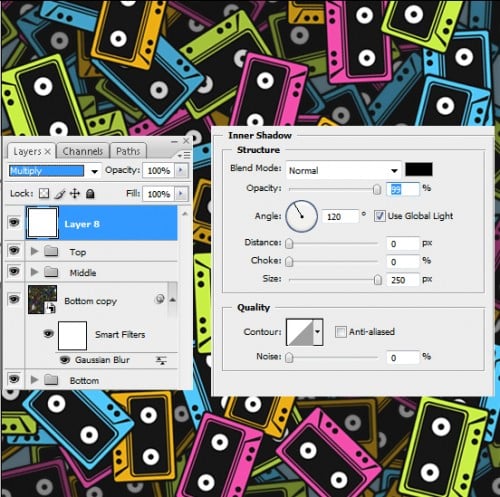
Final Result

