Design an Email Template in Photoshop (Free PSD+HTML)
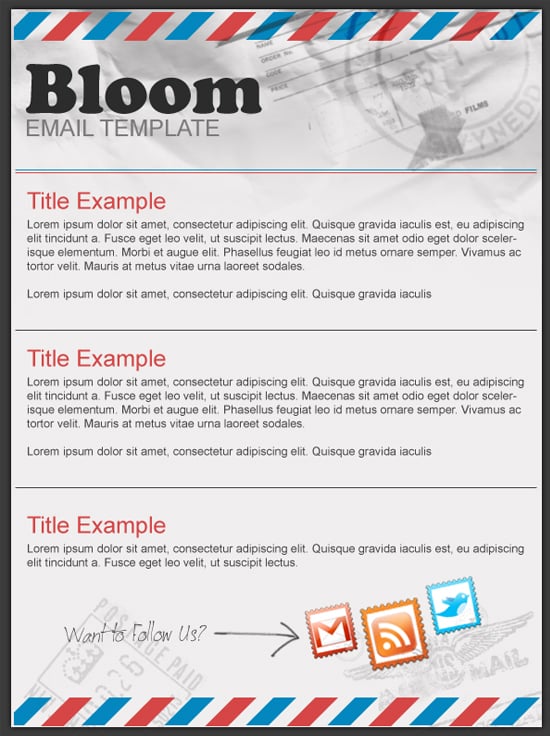
Learn how to design a Email Template/Newsletter in Photoshop! Learning how to design an email template is a great skill to have, today’s tutorial will teach you how to create a email template set with a vintage envelope look with header, content and social icon footer. You can download this free email template PSD and ready to use HTML Template below!
Final Result
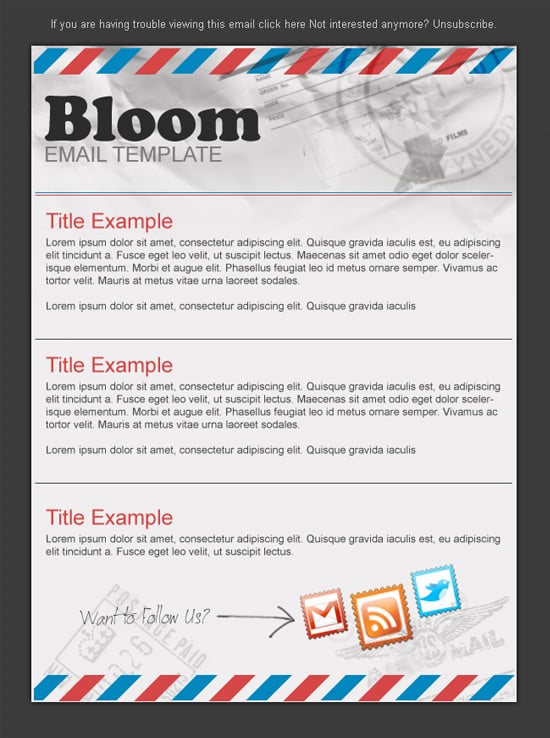
1. Create a new document that’s 650×870 px. Fill in the background colour to below:
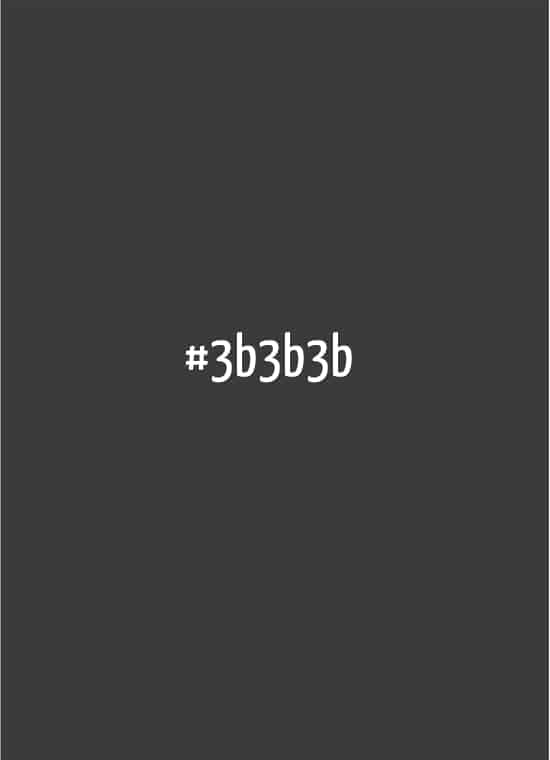
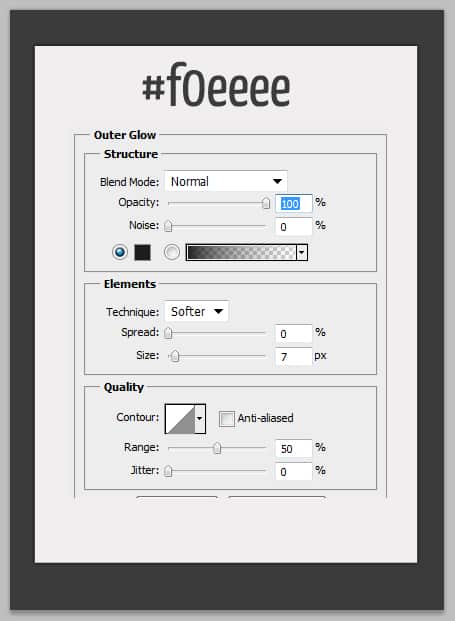
2. Using the rectangle tool draw the page of the email template using the colour below. Double click the layer to go into Blending Options and put in a Gradient Overlay.
3. Download these Paper Texture Photoshop Brushes & install them and create a new layer. While holding down the ctrl key click on the layer thumbnail I’ve circled below, this while highlight the shape. Choose a paper texture brush you like, go to the new layer you create, choose a light grey colour and click.
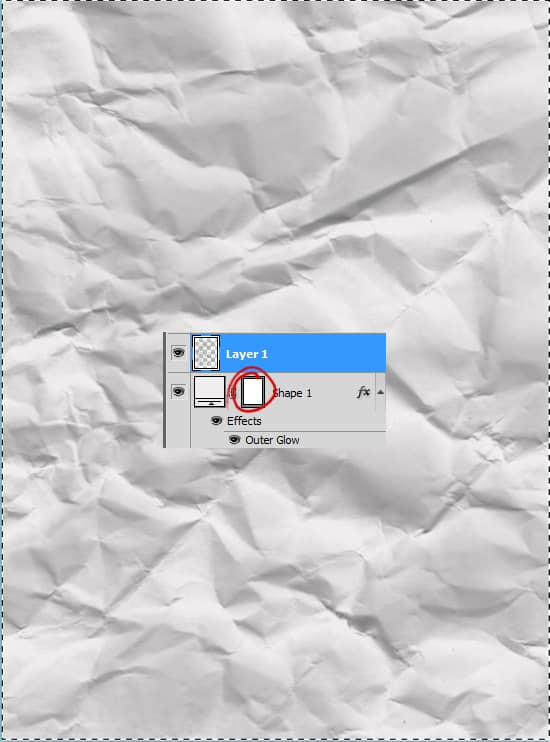
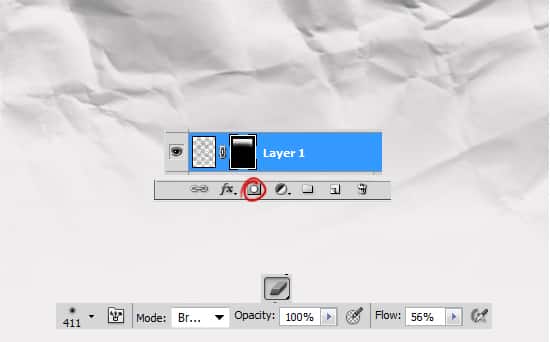
4. On the paper layer click the Add layer Mask icon (I’ve circled it), click on the new mask you’ve create, select the eraser tool and erase the bottom off the paper. Adding a mask is a great way to erase part of an image without touching the real image.
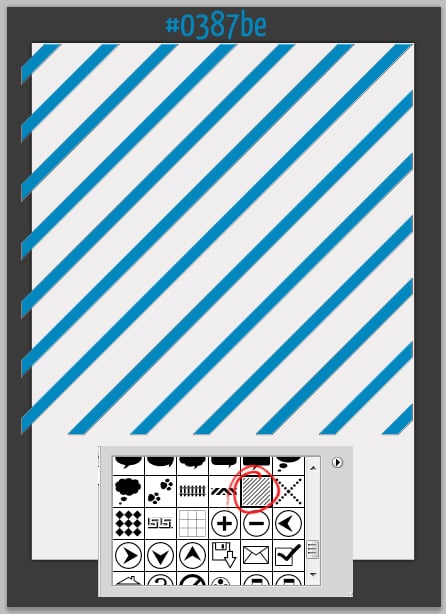
5. Go to the Custom Shape icon and choose this shape below. While holding down the shift key (to keep the shape perfect) draw the shape like below.
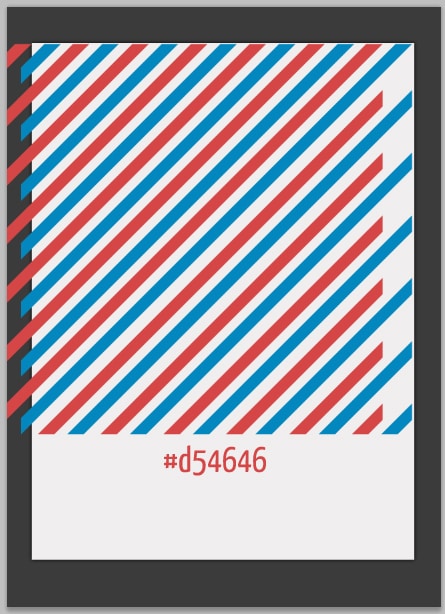
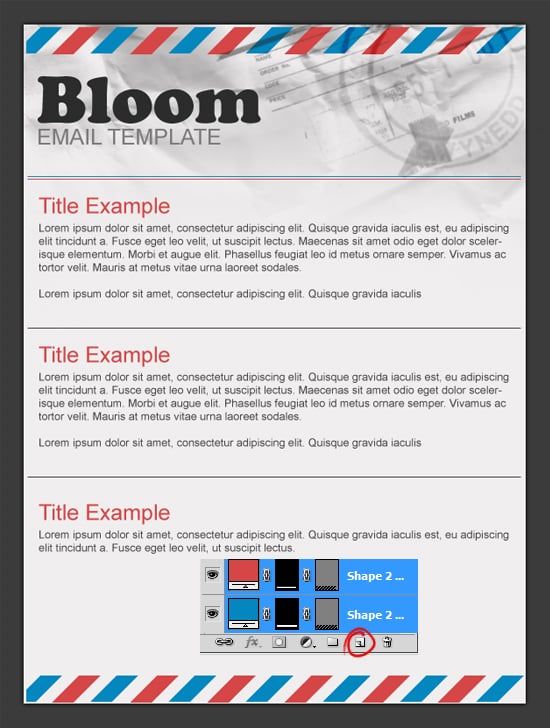
6. Duplicate the shape by dragging the layer to the new layer icon, change the duplicated shape colour to below. To move the duplicate shape press ctrl (small moves) or shift (large moves) & the left arrow key.
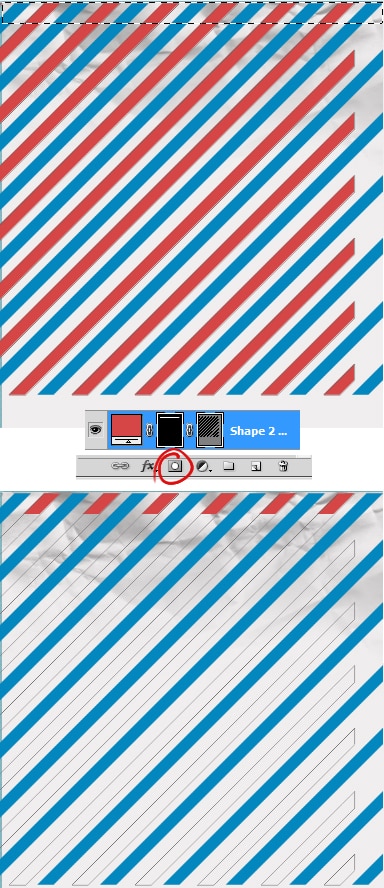
7. Using the rectangular marquee tool, select a shape around the top on the page like below. Click on each of the stripes and click on the Add Layer mask icon. This will crop the stripes down to the size you selected.
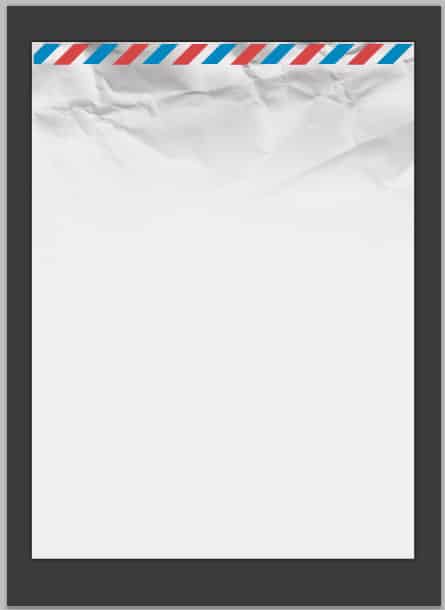
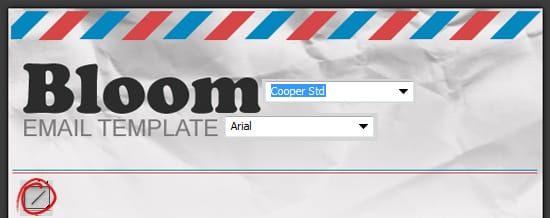
8. Next add your logo/business name. Select the line tool (1px) and draw a line like below while holding down the shift key. I’ve made 2 lines which are the same colours as the stripes above.
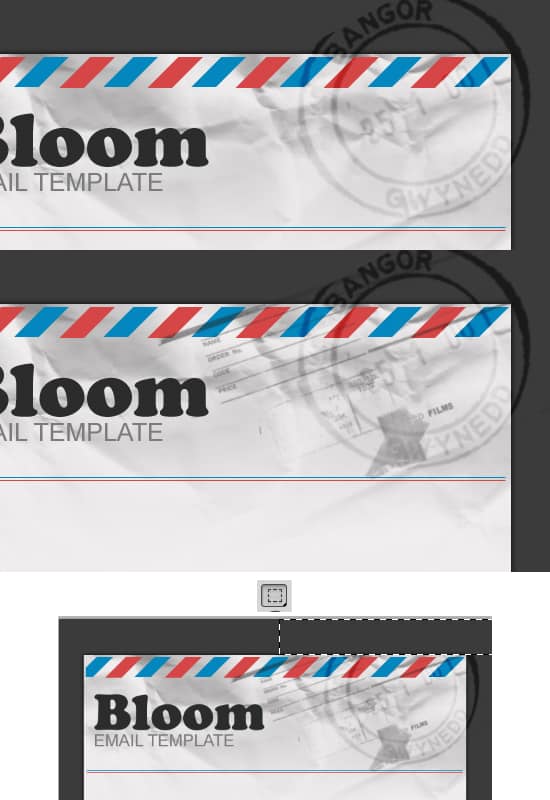
9. Next download these Old Postage Stamp Brushes and choose some you like placing them on top of the email template in a light grey colour. To remove any overlapping stamps, select the unwanted parts with the Rectangular Marquee Tool and press the delete key.
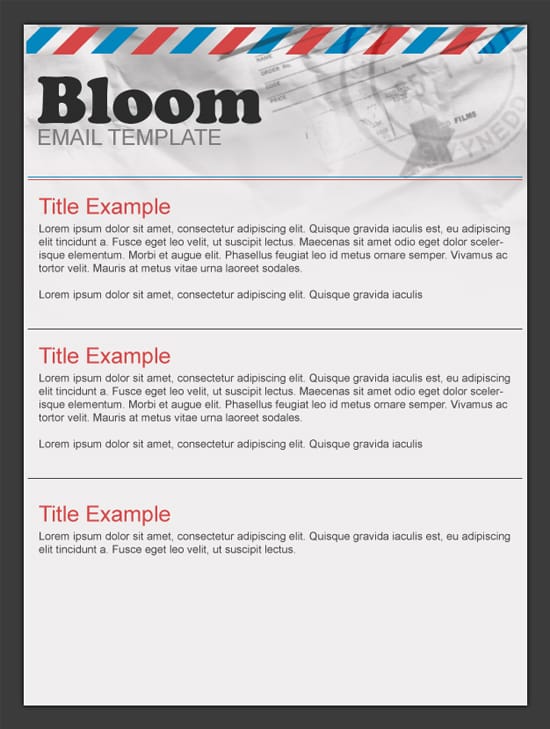
10. Next put in some content, I’m using the font arial and have create a line to go between each post using the line tool (1px).
11. I’ve decided to put the top stripes on the bottom by selecting the 2 layer while holding down the ctrl key and dragging them to the new layer icon. Move them down to the bottom.
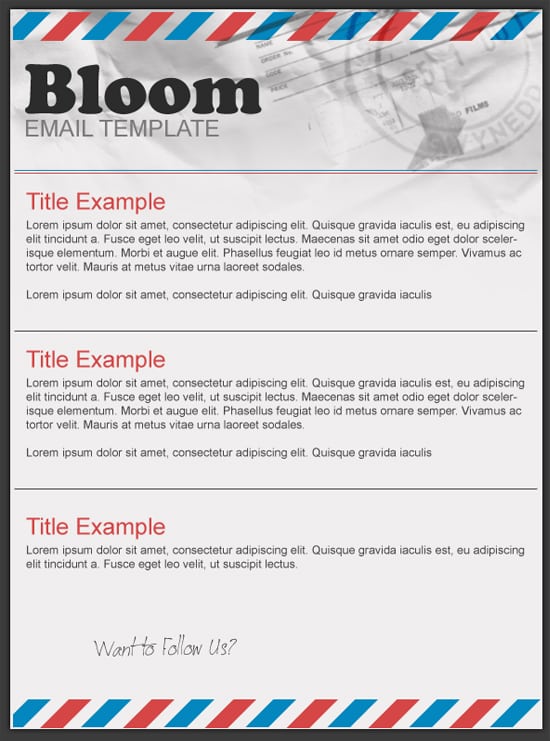
12. Using the font Jellyka CuttyCupcakes I’ve written out Want to Follow Us?
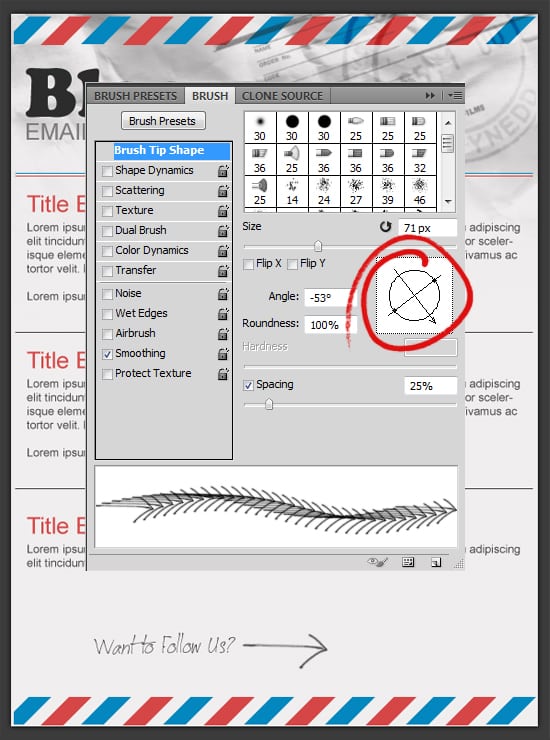
13. Next download & install these Hand Drawn Arrow Photoshop Brushes. To make an arrow you like go in a direction you want to into Window > Brush (or F5) and change the direction then create a new layer and click where you want to arrow to be.
14. Next download these Social Post Stamp Icons choosing what social media icons you want on the email template and drag them to the canvas. I’ve rotated the stamps by press ctrl+t and rotated & made them smaller by press ctrl+t & dragged a corner down while holding down the shift key.
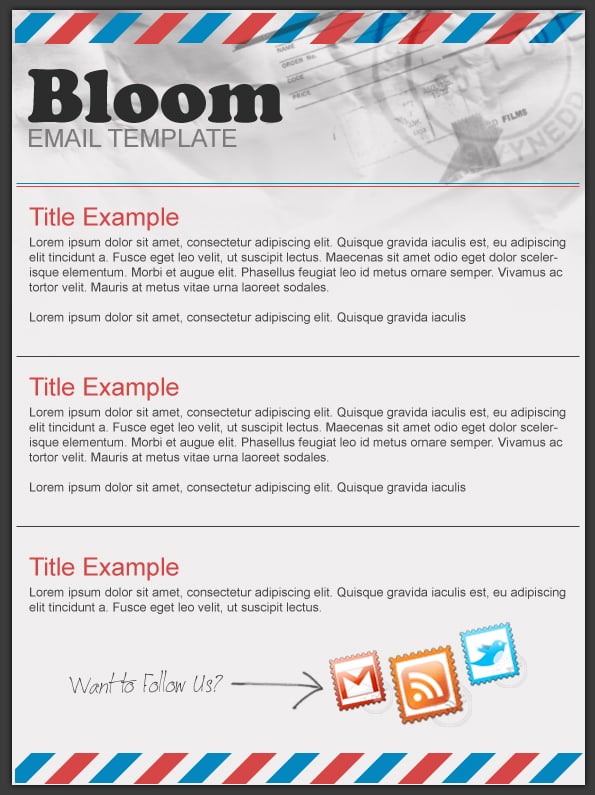
15. Next I’ve created a new layer and put on some stamps from the previous Old Postage Stamp brushes we downloaded earlier.
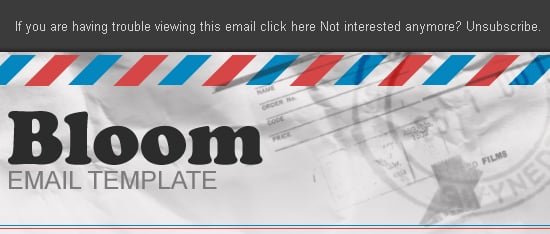
16. Lastly using the font Arial > Regular > None > 3pt write out the sentence below:
Final Result

You can learn how to code this into a working Email Template here.


