How To Develop A Prototype For Your New Product Design
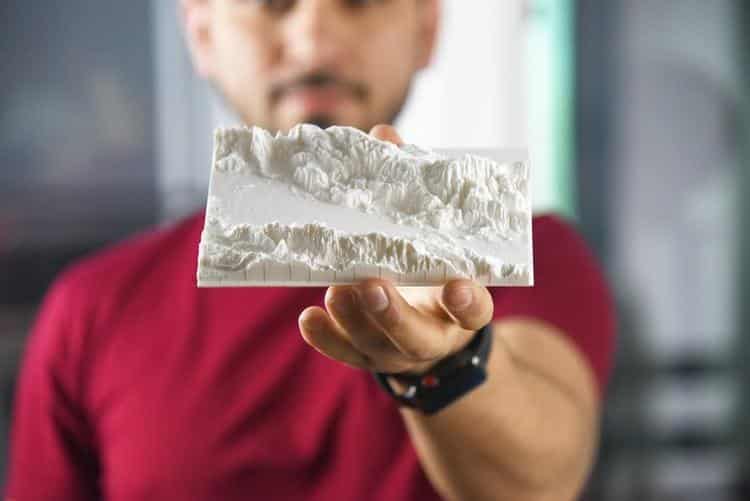
Once you’ve come up with a fantastic new invention idea or a product design concept, the whole point is to masterfully develop it and get that product on store shelves around the world as quickly as possible. The prototype of your idea is crucial in the initial steps of the invention process, as it’s an early 3D version of your vision. The preliminary model is used for thorough testing and further development of the concept. It is a way to prove the concept for your new product design both to yourself, and potentially to possible clients, board members, CEOs, and investors.
Photo by Amin Hasani from Unsplash
Creating the prototype is one of the most exciting and rewarding steps you will take to develop a specific product. Prototypes are an essential aspect of the development process and product design. Working on your prototype will allow you to truly tap into your creativity and utilize the skills that inspire your creative ideas. They will help you test and check the performance of different materials. Know that things in production don’t always work out as you think they will. Prototypes are vital because the materials you envisioned for your product may not work out as you hoped, and something else might perform better. You will never know if you never try.
Whether you are developing your prototype in-house or employing a professional service that excels at rapid prototyping to help you actualize your ideas, it’s fascinating to see your ideas turn into real and tangible things. Here’s how to do it.
Different Kinds Of Prototypes
First of all, you need to know upfront what kind of prototype you will need to develop. Do you need a prototype to test your product’s mechanical qualities, or you only need it for an initial visual demonstration in front of your coworkers and production managers?
Proof Of Concept Prototypes
A proof-of-concept prototype is the first kind of prototype you will have to create during the development process. As the name insinuates, these kinds of prototypes are all about trying to prove that your invention idea can work. It would be best if you don’t focus on the look, feel, or materials used to create it, but more so on demonstrating that it’s doable to come up with a product that functions the way you envisioned it.
These prototypes frequently take many iterations, as you try different things and adjust to unforeseen glitches and hiccups. For that reason, while developing a proof-of-concept prototype, try to create it as cost-effectively as possible, which means you shouldn’t build it using production-grade materials.
Visual Prototypes
Visual prototypes are the kind of prototypes whose primary purpose is to communicate the aesthetics and look of the design, rather than demonstrating its actual functionality. If you need the prototype to showcase the look, shape, size, color, and texture of the end product, a visual prototype is just what you need. In most cases, these prototypes are used early in the design process, way before a fully functional model is created.
Presentation Prototypes
While the visual prototype is more like a rough sketch, the presentation prototype is meant to precisely replicate the look and the feel of the real thing while also demonstrating the actual functionality of the product. In most situations, these prototypes are made with the same or similar materials anticipated for the final product. Presentation prototypes can be quite expensive because they closely resemble the final product. These prototypes are massively used for product presentations in front of investors, potential customers, and manufacturers.
Digital Prototypes
Some of the prototyping workloads can be taken care of in the virtual domain. The digital prototype is a highly detailed and intricate 3D model of the product design, made with various 3D printing modeling and CAD simulation tools. Digital prototypes are not only a 3D presentation of what the product should look like but a detailed digital inventory and representation of the components the product consists of.
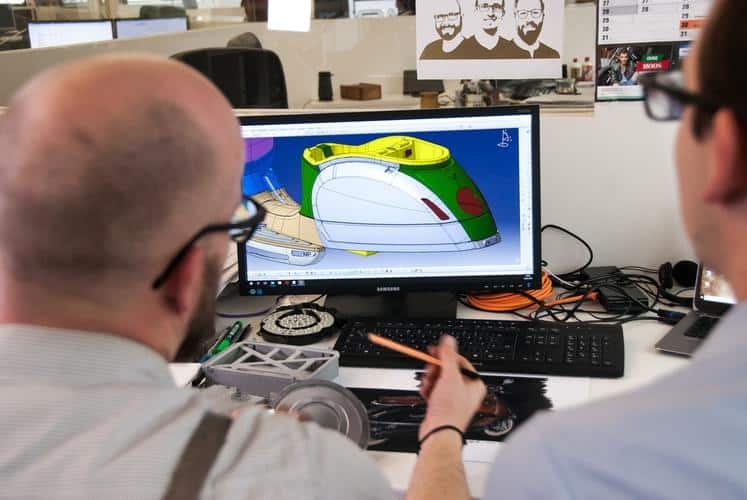
Photo by Kumpan Electric from Unsplash
How To Build Your Prototype?
As soon as you figure out what kind of prototype you need for your purposes, you are now ready to build it. Here is a quick step-by-step guide on how to make the prototype for your future hit product.
Step 1
Start by checking out how other similar outputs are made. You can even buy an existing product and disassemble it to figure out how it’s made and by which exact materials. Don’t forget that you are not trying to copy your competitors, but to learn how they’ve made their products and gather knowledge for the development of your new and better product.
Step 2
Come up with a sketch of your new product design, and transfer the idea on a piece of paper. Write a verbal description of the product. Since most people aren’t particularly good at visualizing 3D objects, the sketch can also help you think through the physicality of the product.
Transfer your sketch, or the drawing, on a CAD design software file. CAD is a mighty design tool that can add a great deal of flexibility, design, and efficiency to any product design. At the end of it, the CAD design you will get for your prototype will be a hundred times more precise than any paper sketch.
Step 3
Now that you have the technical drawings in hand, you can get to actual prototyping. You can start with a digital one, even though it’s certainly not necessary. The initial physical prototype you should come up with should be the proof-of-concept or functional prototype. It certainly doesn’t have to be pretty or durable. Make it from the most basic materials possible.
3D printing is a phenomenal tool for this initial prototyping phase. Being able to manufacture custom-dimensioned parts quickly and cheaply is a tremendous benefit for new inventors and design teams.

Photo from Pixabay
Step 4
Now that you have demonstrated the feasibility of the product design, the next step is entirely up to you depending on your specific needs and business plan. Generally, you’d want to develop a respectable-looking visual prototype so you can use it to attract early adopters or impress investors. If you don’t have to go through those steps according to your business plan, you can skip the visual prototype and move on to the presentation prototype.
Step 5
When you get to the point where you need a fully functional presentation prototype, don’t rush it and take your time to get it right. Make sure that everything is right and in place. Depending on the nature of your product design, the prototyping process can be quite expensive. Make sure to plan these costs within your business plan from the get-go.
Final Words
Well, there you have it! We talked about the importance of prototypes nowadays. We dedicated an entire part of this article to the different kinds of prototypes available, and we went through a quick step-by-step on how to build your prototype. Now is the right time to get off the couch and start working on your next commercial success.


